Showing posts with label refashioning. Show all posts

Monday, 3 September 2018

Sweet as honey

I really loved the honeycomb shirt and dress by Ana from Cocowawa when it was released but I attempted to resist buying it as my sewing output has reduced and I’m so I’m attempting (and failing) to reduce my fabric and pattern buying too.  However, there were so many gorgeous versions popping up on my instagram that I couldn’t help it.  I love a shirtdress, they must be among the most worn items in my wardrobe so the fact that this pattern offers a dress and top versions is a real bonus.

This was my first Cocowawa pattern, while I love some of her other patterns, they are a bit too casual for my mainly work wardrobe, although the Chestnut gives me all the heart eyes and is seriously calling to me.  I was really impressed with the pdf, it seemed to have be planned with economy of paper (and sticking time) in mind and is only 28 pages for all the different versions. 


I made up a size 4, grading to a 6 over the hips, as per my measurements and found it to be pretty accurate but this is a loose fitting top.  I used the remnants of an old duvet cover that I had bought in a charity shop and used to make my vintage halter neck dress.  I found the instructions for the most part really good.  Everyone has been raving about the burrito method for closing the yoke but I wasn’t paying attention at this point and so just stitched my yoke shut and finished it in the way I would any other seam so mine is not so pretty on the inside.  The only thing I struggled with was buttonhole on the mandarin collar, I was struggling to get a neat buttonhole on the collar because of the fabric bulk and then I realised that it wouldn’t close over the other side properly even if I got one so I simply decided to sew buttons on both sides of the collar and call it a feature.  I had a little look on instagram and there seems to be a mix of buttonholes and no buttonholes on the collar so I don’t know if that’s something I fluffed or not.


I love the bow details and can’t wait to make a winter dress complete with the sleeve bows too!  When we were taking these photos, I realised I have a gaping problem between the buttons.  It’s not going to bother me enough to do anything about on this version but on a future one, I think I’d add in more buttonholes, I have space for them as I lengthened the bodice so I could definitely get away with one more.  I used these super cute little strawberry buttons from my stash, I bought them on a market years ago but I don't remember which one. 

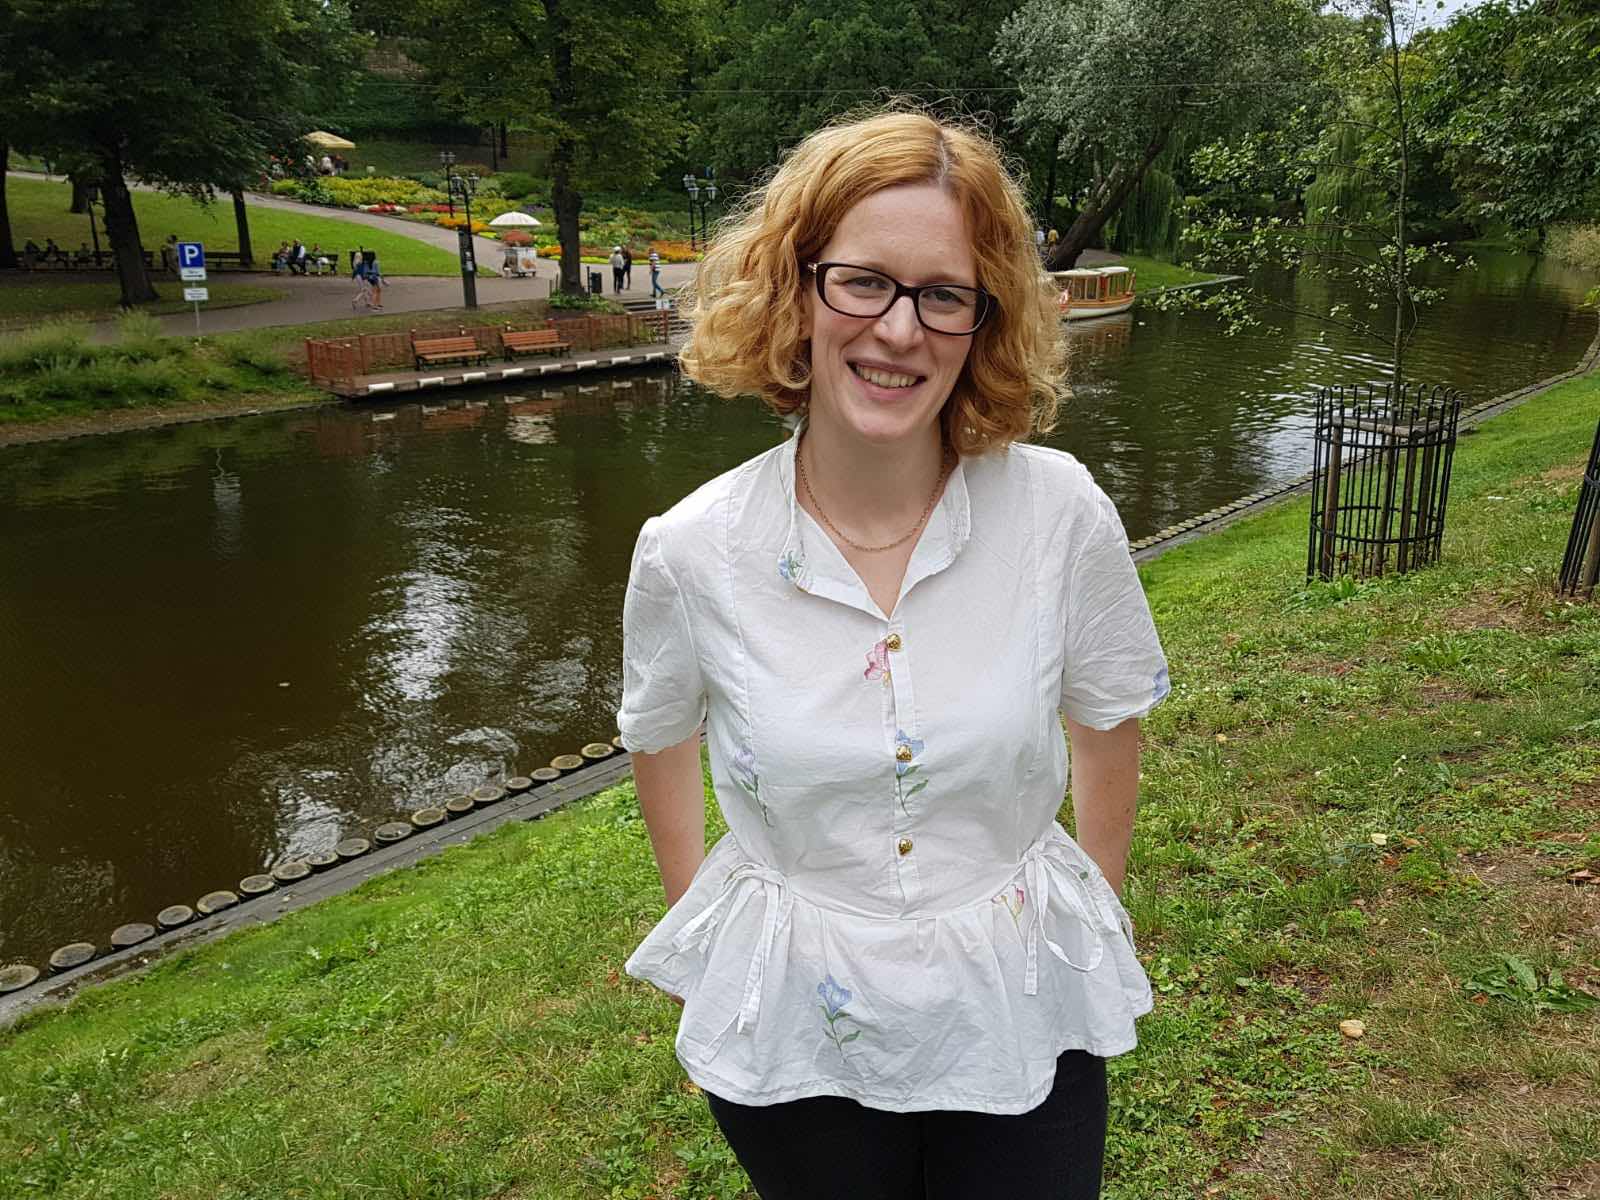
Although my face seems huge in this photo, it's probably the best photo of the top so I'm just going to have to deal with looking like a bobble head doll! 

I really recommend this pattern and am looking forward to future versions becoming part of my shirtdress wardrobe!


Wednesday, 28 September 2016

A tale of 4 pairs of jeans

I love the refashioners series and despite not thinking I was going to get time to participate in this years event, I was still buying pairs of jeans any time I saw them cheap in a charity shop.  I really wanted a dungaree dress and when my flatmate moved in and brought her 2 versions for me to covet, my envy was tipped into action.  When I also found myself with some unexpected spare time I realised that I could also join in with everyone else on the refashioning fun.

So I started with these 3 pairs of jeans (as the title says, I originally had 4 but then I realised that one of the pairs that I had bought in a charity shop actually fitted me pretty well as they were so they went into my wardrobe!)  The pair on top were an old pair of mine that actually when I came to harvest fabric from them, I realised were too threadbare almost everywhere to use (it's embarrassing that I was still wearing these not all that long ago).  So I was left with the bottom 2 pairs which were each bought in different charity shops in Penge for a couple of quid each.  The dark pair were a large pair of men's jeans and the light ones were a size 8 women's pair (not a lot of fabric-grr!)

I had this Simplicity pinafore pattern from 1973 in my stash which I've been returning to and meaning to make over and over and finally there was a pattern and fabric match.  I used the bodice pieces but knew I wasn't going to have enough fabric from the jeans to use the skirt pieces.
Image result for simplicity 5862

I started by unpicking the back pockets on both pairs of jeans and I loved the designs that they left, particularly on the pale jeans and knew I wanted these to be used in the bodice to make a bit of a feature.  Ideally I would have stuck them front and centre but I didn't think the pocket boob look they gave would have been a good one.  I did get to use the actual pockets on the front which I think look cute and are practical.  


I always have to extend the bodice pieces of my 1970s patterns, I guess I'm taller/have a longer torso than your average 1970s woman.  However, I didn't do it this time and I really don't know why.  I guess I was focused on the refashioning part of my task and neglected to engage my usually sewing knowledge!  It's a shame because the shortness of the bodice is the one thing I don't love about this dungaree dress.  Having made the bodice, I simply created 2 panels of the denim with darker strips on the outside and lighter ones in the middle and then cut them to fit the bodice pieces and round me  and finally I hemmed it.

I think the dungaree dress with a stripey t-shirt is such a classic look.  I am wearing the dress with my newest Dolores t-shirt in these photos.

In the photo below you get a better view of all the top stitching that I did/redid on the straps, hem, around the pockets and waistband.

My sister took most of these photos on a recent trip to Lisbon.  I have a sneaking suspicion these may be the best photos you get for a while as the daylight in the UK is shortening rapidly.  I hope you all get a chance to get your refashioners projects finished in time.

Thursday, 11 August 2016

Flashing my shoulders

It's really rare that I get on board with something as obviously on trend as the off the shoulder look and for a long time I was steadfastly ignoring it.  Particularly as lots of the tops have ruffles round the top and I'm a bit allergic to ruffles!  However, when this off the shoulder top popped up on my radar, it was love and the refashion lightbulb went off in my head.

And to create the look, I had the perfect shirt in my refashion pile. It was fate! 
This shirt was a seriously nice quality Ted Baker shirt and I had a momentary feeling of guilt as I cut into it. This was one refashion that really needed to work or the waste gods would smite me. *Spoiler alert* it did!

Obviously mine has shorter sleeves than the inspiration garment.  I figured that if it was warm enough for bare shoulders, this also meant short sleeves.

Red detail binding on the tie sleeves plus bonus glimpse of a friends bike (I really must take better care to take photos in an area free of random objects)

I really love this top which surprises me as I didn't think it would suit me at all!  If the UK weather was only a bit better, I make a few more but unfortunately this is really not an item I need too many of.  However, I'm happy with just this one great one.

For those of you who fancy jumping on board the off the shoulder trend, I've put together a mini tutorial. 

Cut off the top, using the back yoke as a cutting line. 
I was planning on using the front of the shirt as the back of my top and so I unpicked the pocket. Portia did a post as part of the refashioners series last year about getting rid of the holes when you unpick a pocket.  Next I cut a length of 1" wide elastic to fit around my shoulders where I wanted the top to sit. Just a tip, this needs to be quite snug, it's the only thing holding up the top.  I speak from experience, I had to unpick my top and tighten it, trust me that's an annoyance you don't want to have.   Finish the top edge in your preferred way. Then there are a couple of ways to do the next step; you could create a channel for the elastic and feed it through and then sew the ends of the elastic together.  Or do what I did which was to sew the elastic together and fold over the top edge of the top over the elastic and create the channel with the elastic in place.

One of the things I loved about my inspiration top was the sleeve detail.  To recreate these, I cut the sleeves into this kinda shape (I have no words for what this shape is):
The long thin bit is on the side of the sleeve furthest away from the body.

Slit down the middle, continuing to cut until your slit extends beyond the length of the other side of the sleeve.  This will give you nice long ties, maximising the decorative effect.

I got lucky with this shirt as it had some cute details like the contrasting yoke.  I made use of this by cutting it into binding to add detail to the sleeves.  
Sadly there was only enough to bind part of the sleeve but I made binding for the rest of the sleeve from other off-cuts from the shirt-maximising the refashioning!  However, you could use some other contrast binding if you felt like it.  Once the sleeve edges are bound, your shirt is pretty much done.

I tried the top on at this stage and I wanted it to be a bit less huge at the waist so I added some darts in the back but this is a matter of taste and personal preference.

Enjoy your new top!