Showing posts with label Sew Over It. Show all posts

Thursday, 26 July 2018

Expressing my love for the African wax print


Today I have a very colourful dress to show you.  This is my fourth African wax print dress and each time I wear the others I swear that I'm going another as they make me so happy.  I feel like they fit my style well as they are colourful without being novelty and I also love the great interactions I get with other people when I wear them.  People come up to me on the street or the hospital that I work in and talk to me about the prints which is awesome as Londoners tend not to do that often.


I used the Sew Over It Ultimate shift dress pattern.  I've made this pattern so many times but I'd never made the frilled shoulders before as I'm not a massive frill fan but I don't know what got into me and I just went for it and I'm really pleased as these frills I love. 


Despite making this pattern a lot of times, each time I do, I think that I need to lengthen it.  I think I forgot because several of them are winter versions that I wear with tights.  However, this is definitely a summer version and it feels like it should be a smidge longer.  However its been doing me well in this heat wave we've been having. 


And just because if there's ever a giant pink flamingo around you, you should definitely give it a cuddle, particularly if you're wearing a dress to match!


Friday, 13 July 2018

Starting to feel a bit put together

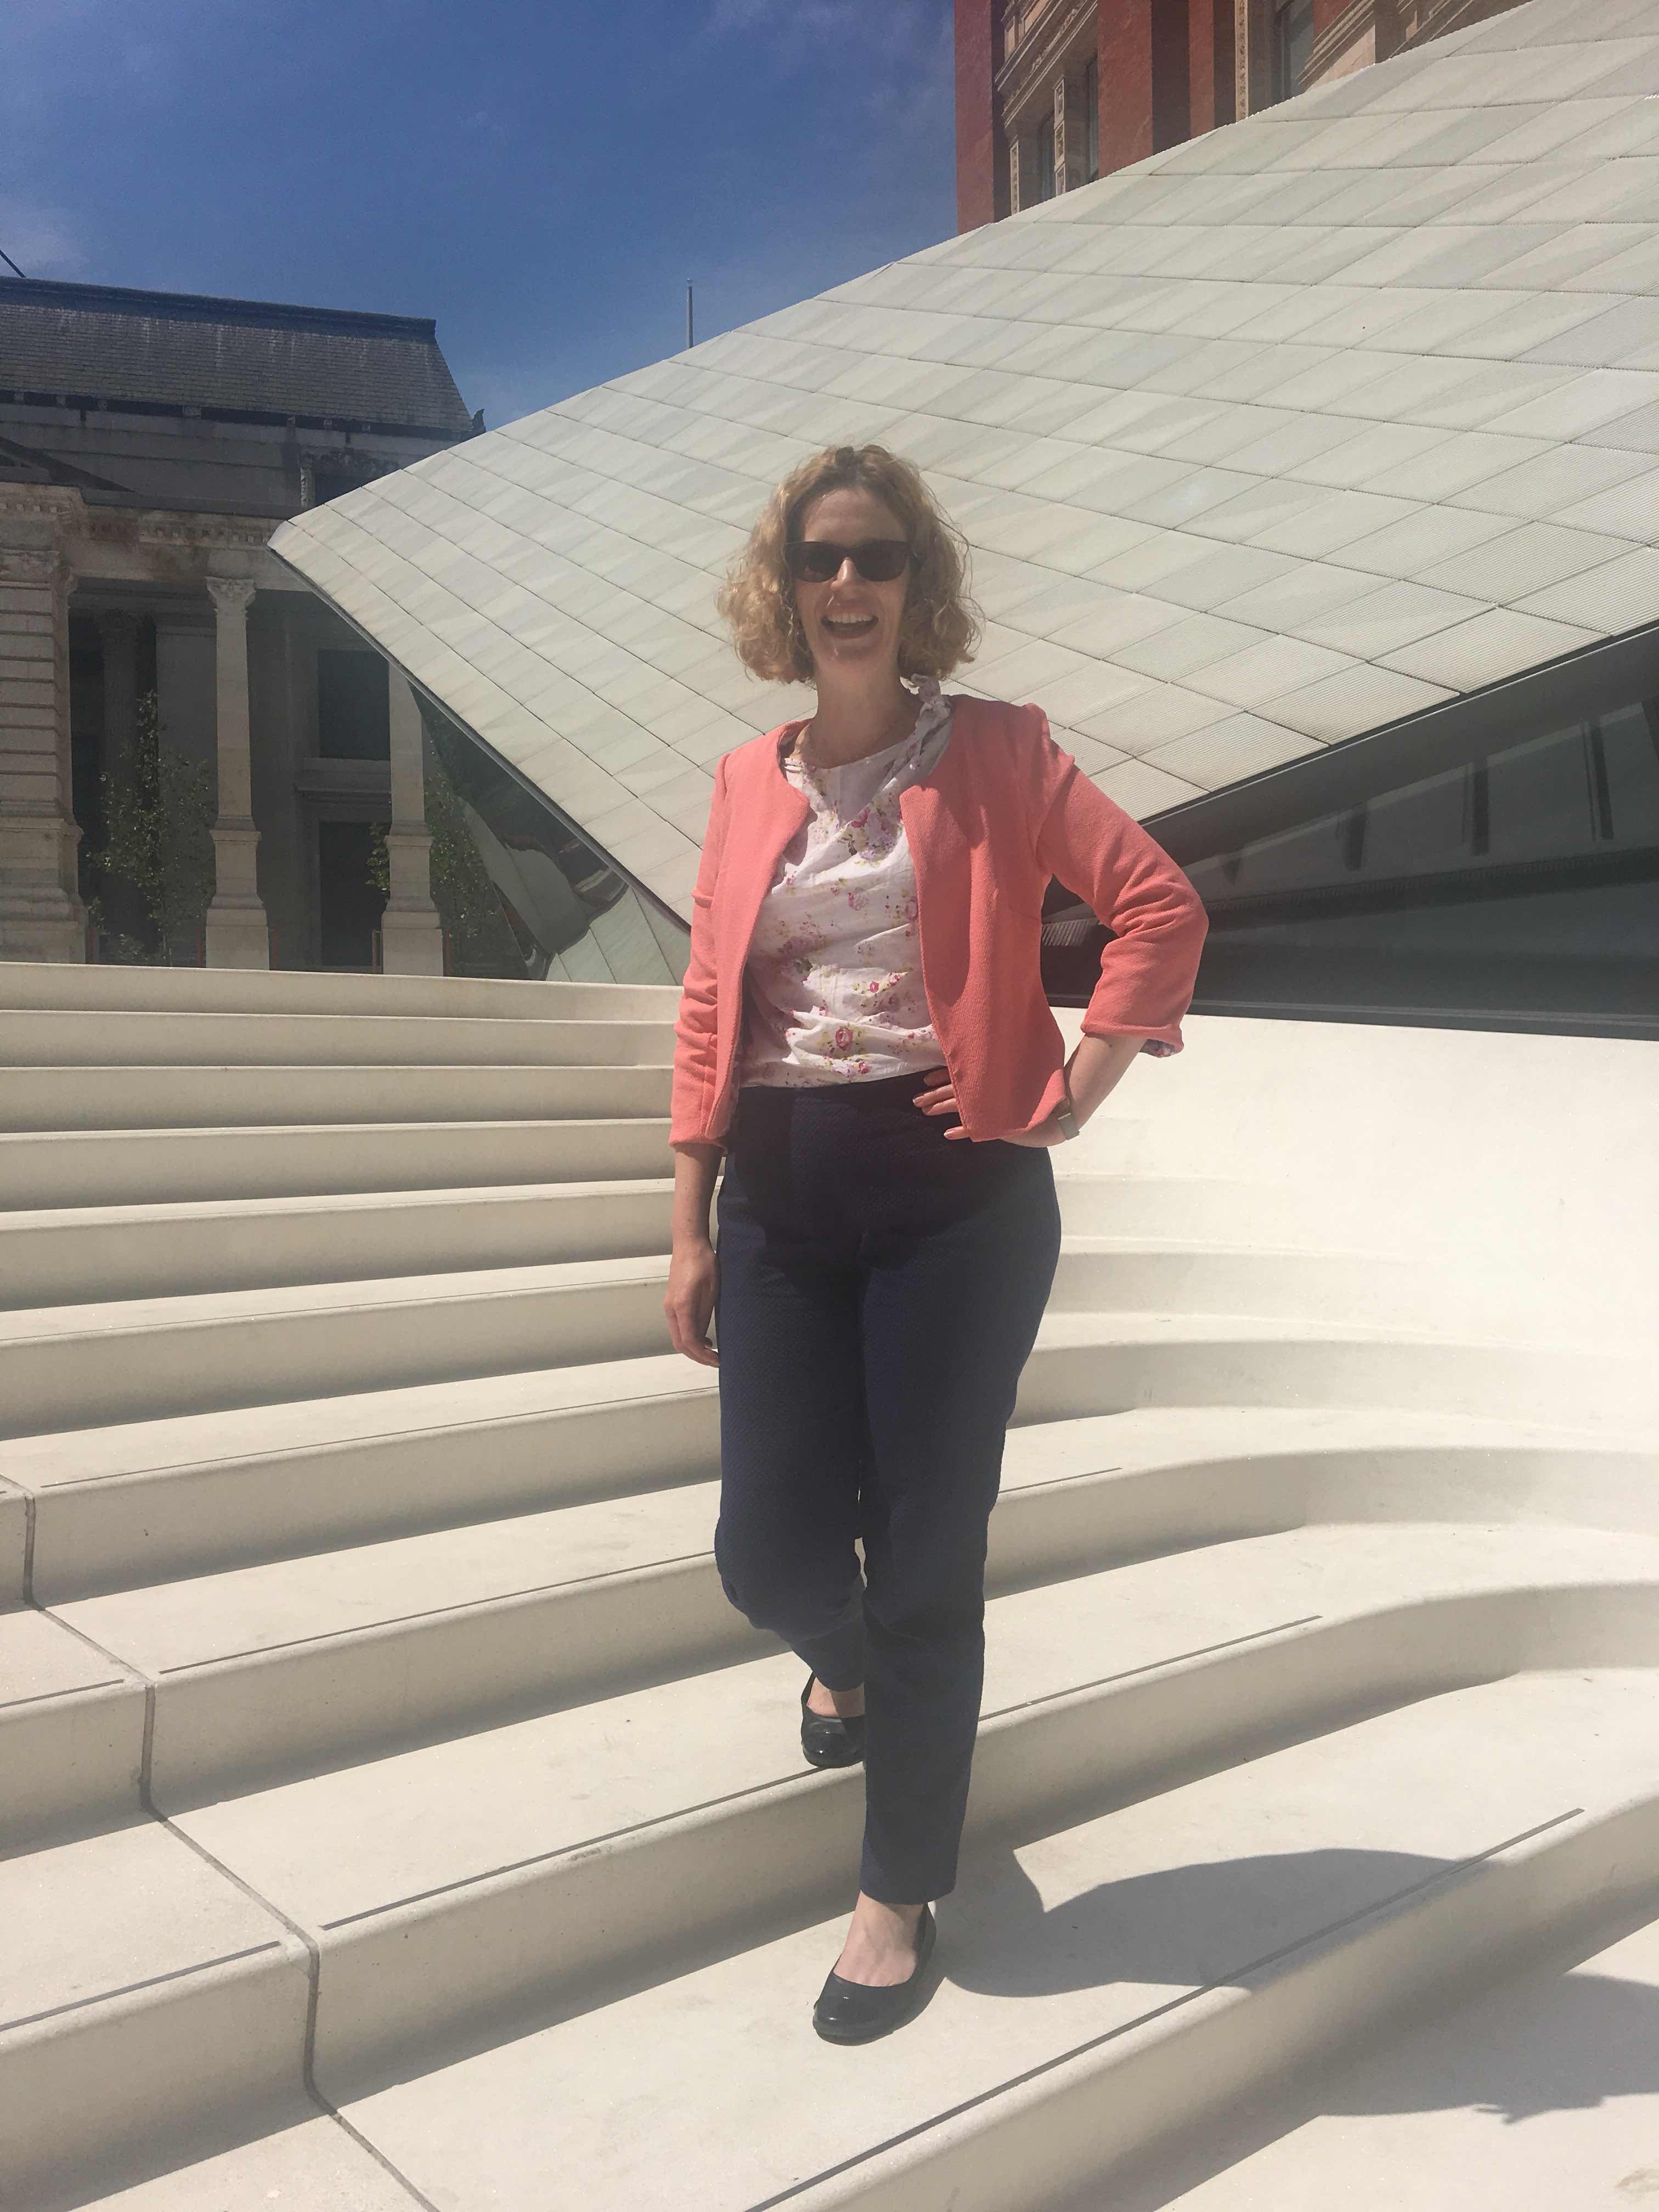
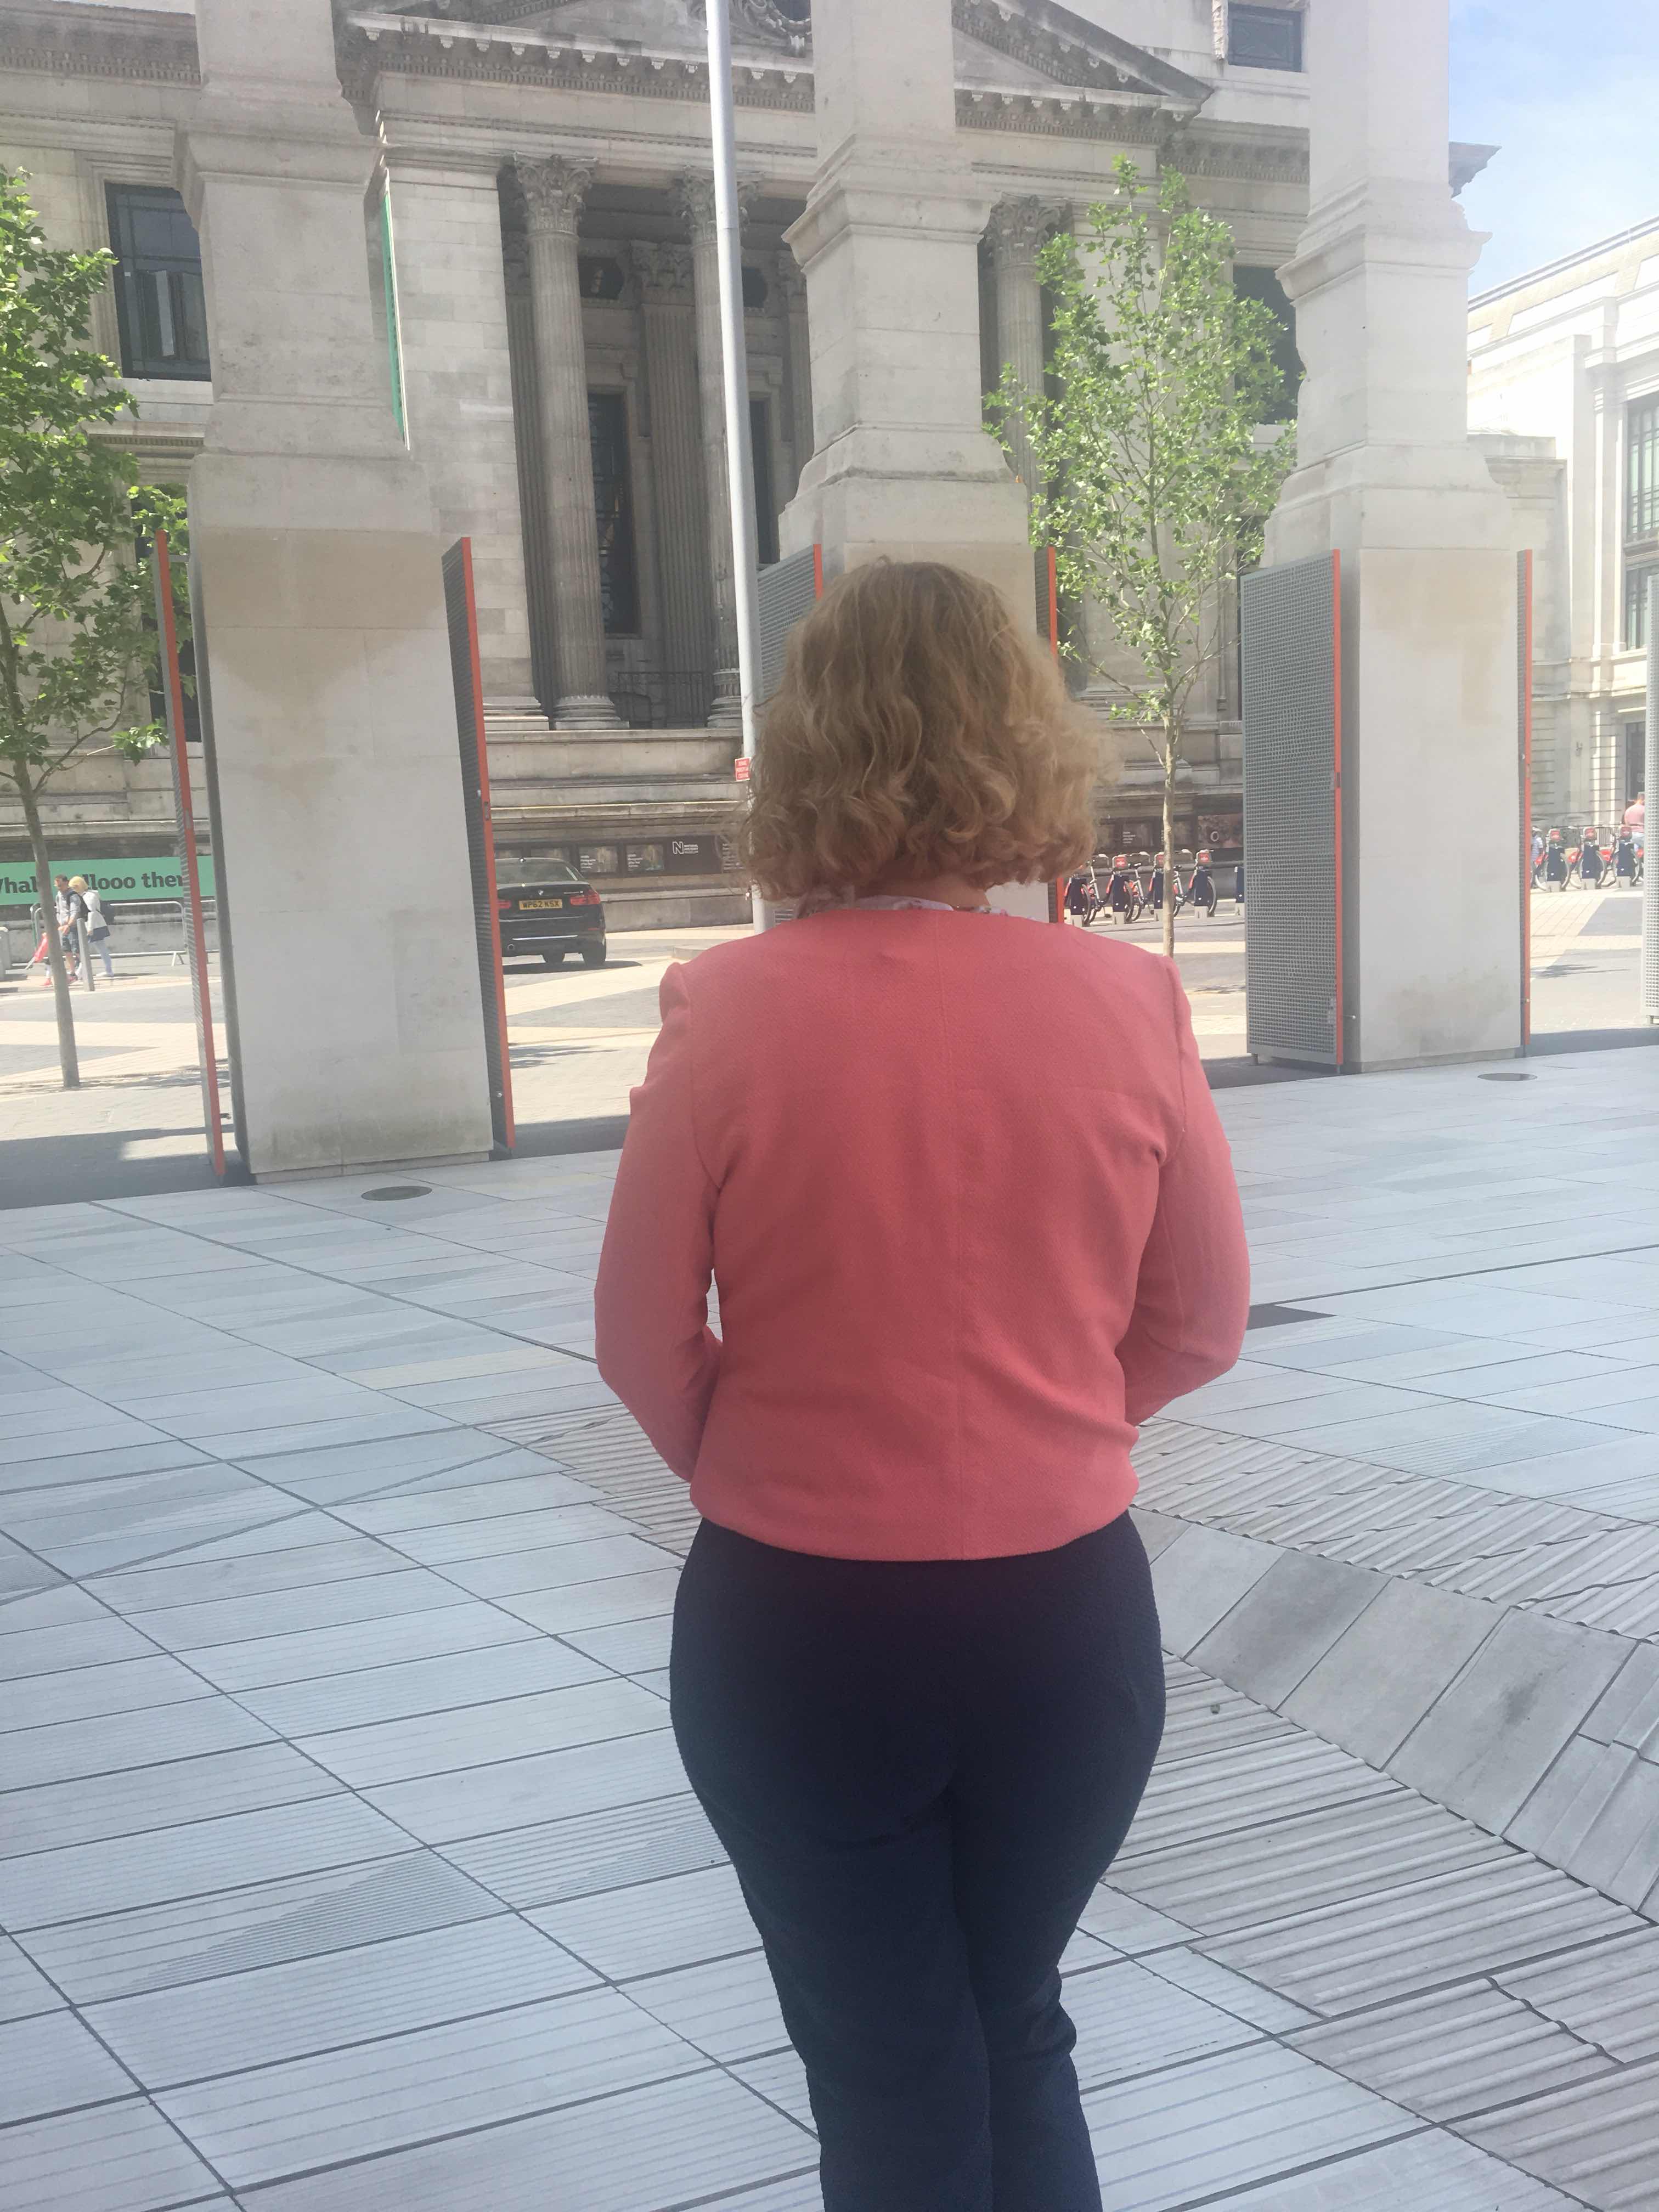
Today I have another double act for you, however this one worked out just as I planned. Another pair of Sew over it ultimate trousers and a Schnittchen patterns Coco jacket. The jacket was a new make for me and it was good to push myself out of my comfort zone. 


I’ve made at least 5 pairs of ultimate trousers and I love them but I don’t have a lot to say at this point about the construction. This pair were made in a textured cotton from Simply fabrics in Brixton. I spotted it on my last visit there and fell in love instantly, I had it made up into these trousers within days. 
 

Before I launch into a critique of my new jacket, I should say that it was always meant to be a wearable muslin and as that I think it’s pretty good. 

  
I’ve had this pattern in my stash for years! I won it as part of a monthly stitch competition at one point and never got round to making it. I’ve always had a cardigans and jackets gap in my wardrobe and really wanted a jacket in this style but it just felt like it was going to be too difficult. 

 
However I recently managed to psych myself up to just do it! I decided to use 2 fabrics from my stash that I wasn’t too precious about as a way to not get too uptight about how to make it perfect. I think I received the pattern before they had English instructions, either way there were no instructions with the pattern so I was reliant the tutorial on the blog.  Most of the construction was fairly straightforward but I struggled with attaching the lining around the back hem and it keeps rolling out of the sleeves (although this may be because of the outer fabric).  


I didn’t make any alterations to the pattern and made it up as instructed.  For the most part, it fits really well but the arms are too tight.  I'd seen other people on the blogosphere commenting on this but decided to give it a go, as drafted, for this wearable muslin.  I really like this jacket but it's unlikely to last me more than a season, the outer fabric is a cheap polyester, that I bought on Walthamstow market and used some of for the lining of this coat and the lining is a viscose from Minerva crafts that I bought on sale and then thought was a bit garish for a dress.

Despite the flaws, I love this outfit it makes me feel really put together.  I have worn the jacket with almost everything since it was finished and definitely need to make another one.  I've already bought some fabric, anyone want to take bets on how long it takes me to get around to actioning this?
 

Friday, 29 September 2017

And it's a wrap!

And with that incredibly unoriginal title, today I have a Sew Over It ultimate wrap dress to show you.  I was given this pattern, along with the vintage shirt dress for Christmas 2015 and I really don't know why it took me so long to get round to making it!
This is actually my second version of this dress. I made my first version back in May. Any of you who follow me on Instagram may have spotted it in my me-made-may photos. However I just didn't love this version, the neckline was too wide, leaving my bra straps on show and making it seriously boob-y. I also felt the fabric made me look a bit like Minnie Mouse! In my recent moving house clear out, it got donated to the charity shop. I always kind of hope that I'll spot someone in my local area wearing one of my me-mades that I've donated. Anyone had this experience? 

On my previous version I'd lengthened the bodice but on this one I brought the neckline in by about an inch and a half on each side and then gradually tapered it down to the waist. I also obviously added a lot of length as I've been dreaming of creating a wrap maxi dress all summer. 


I used a light weight cotton jersey from Girl Charlee. Although it's quite thin, it didn't do that irritating curling at the edges thing that some thin jerseys do. I also love this print. Construction was pretty straightforward. I used my overlocker for a lot of it and the rest on my sewing machine. This is one of the first garments I've made since getting my new walking foot for my sewing machine and it's made such a difference. I'm really pleased with how all the stitching has turned out. 


I've got the boob coverage sorted but I think if I was going to make another maxi version, I'd probably widen the skirt pieces at the bottom as I flash my legs all the time.  Flashing my calves to the world is not exactly a problem but I think it would sit a bit better with slightly wider skirt panels. Ideally I would have made it a little longer too, however, I did not have enough fabric to make any of these changes on this version , there were only minuscule pieces left once I had cut it out.  Anyway, while it's far from perfect but I'm really pleased with it. 

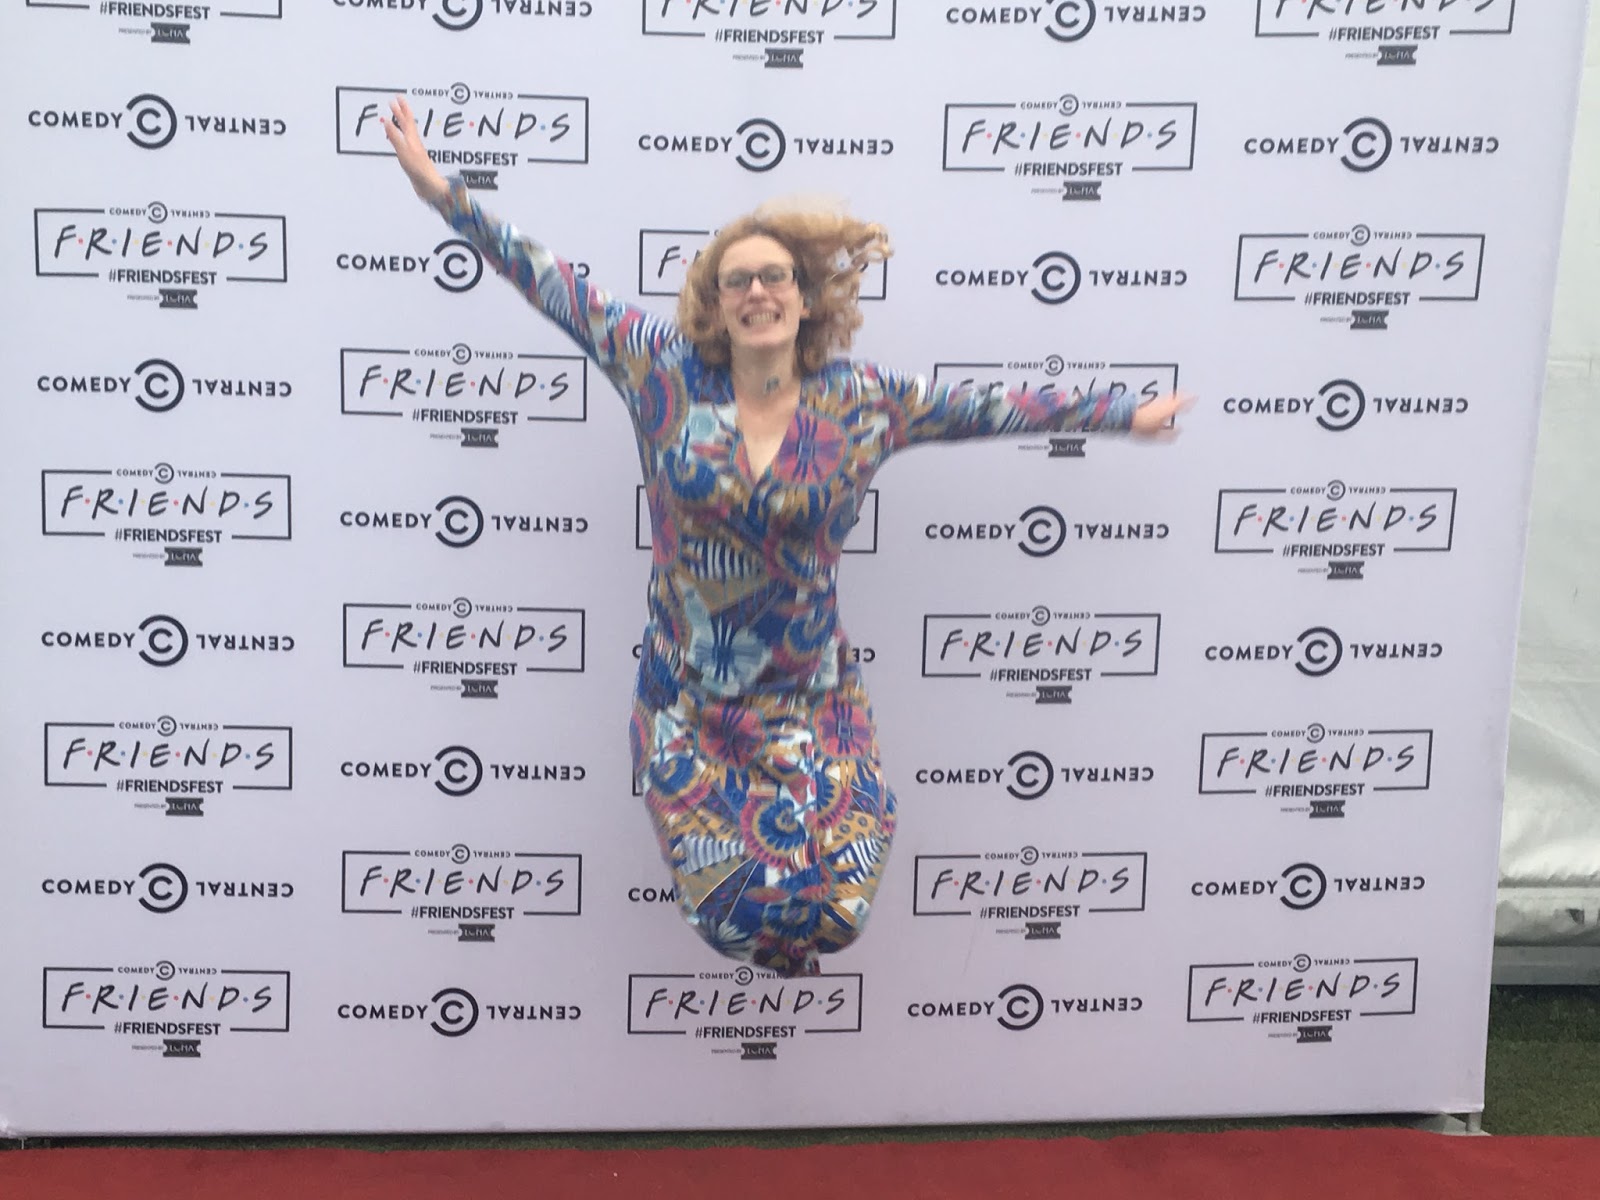
I wore it on a super geeky trip to Friends-Fest recently and it turns out its perfect for jumping in and there were no flashing issues-perfect!

Tuesday, 1 August 2017

Being a fangirl

Sometimes I feel like this blog is basically becoming the place where I express my love for Sew Over It patterns.  Some days I feel like I should mix it up but, I warn you, today is not going to be one of those days!
I've had the silk cami pattern pretty much since it came out.  I even got round to printing at the time and then it sat in a my pattern drawer for ever, not being made up.  When I caught the end of the Liberty sale and picked up a couple of single metre offcuts, I knew it was time to break out this pattern. I cut out a size 14 overall even though at the bust the sizing showed that I would be a 12. However, I have had problems with the arm scye on a number of patterns so I decided to make the 14 overall. Turns out this was a mistake. At the top there's too much fabric. I love this top but need to decide if I can be bothered to remake the top, taking it in a bit so there's not quite so much excess fabric. 
Last month was the monthly stitch's fourth birthday and as I'm a sporadic contributor, I thought I'd like to enter something.  As the theme was 'four' so my cami with it's four pattern pieces seemed like it fit the bill perfectly.  However, in my current late to the party style, I missed the deadline so I'll have to post it as an amnesty make at some point.
I made my first pair of Mia jeans  back in April and while I love them and have been wearing them pretty consistently, there are some fitting changes I wanted to make for the next version.  There's lots of chat in the sewing world about how sewing helps with body confidence and while I love being able to make clothes that fit me properly and suit my shape, I would argue that actually sewing has made me more aware of how my body differs from others.  For example, i now know that while I have a long torso, it's the length from my neck to my waist that's longer, whereas the length from my waist to my crotch is actually proportionally short!  Hence the first alteration that I made to the jeans, which was to remove some of the length from crotch to waist.  The other alteration that I made was to make the trouser legs considerably longer as my last pair came up seriously short on me.
While I'm pleased with the alterations that I made, I did make some errors which I will need to rectify on the next version. I forgot to move the marking for the zip end so I have one very short opening to my jeans which means that they require more shimmying than is elegant to get them on and off. I forgot that my sizeable rear end needs quite a bit of fabric to cover it so I think I took a bit much out of the pattern at the back when adjusting. Also I think maybe the pocket placement could do with being moved down a smidge. 
These items have pretty much been on me or in the laundry since I made them. These photos were taken on a trip to the Isle of Wight and stood me in good stead and I'm heading off to Japan in October and I think these are going to be the base of my holiday wardrobe!

Friday, 28 July 2017

A long time in the making!

Today I have two projects to share that have been a really long time in the making.  The first up is a Sew Over it Vintage Shirt dress which is my latest Sew Crafty Design team project.  However, I ordered the fabric for this months ago and have only just got round to making it.  It's been a super busy few months and I'm happy I can now celebrate the end of them with a new dress.


This is made in a dashwood quilting cotton from the altitude collection at Sew Crafty.  This is a really gorgeous range of cottons which are perfect for a dress like this.  For years I mainly bought cottons like these as they are so easy to work with and come in amazing patterns and colours.  Then I moved away from them to other fabrics as I expanded the range of what I could sew and my stash was surprisingly low in this kind of fabric.  I really must rectify this as I do really enjoy working with them.


This is my fourth version of this dress (I really love this pattern) so I have the fit changes sorted by now, although I did have a few other changes that I made. I hadn't ordered quite enough fabric so I made a couple of adjustments; I made the shirt a smidge narrower and made the sleeves short rather than 3/4 length with a cuff.

I then ventured out into the rain to take some photos which was much rougher on my photographer than on me, so thanks Nini.

The Julia cardigan was circling the blogosphere a few years ago and when I checked my harddrive, I've had it stored for 2 years without ever getting round to printing the pattern and making it.  Part of the reason for my lack of action was the difficulty in finding the right fabric.  I really didn't want a polyester cardigan which ruled out a ponte or something similar.  Also as I really feel the cold, I wanted something with a wool content rather than just cotton.  Anyway, a few weeks ago I found the perfect black wool jersey in my local fabric shop and as my trusty RTW black cardigan has started sprouting holes, it felt like fate!

Cardigans and jumpers are still the items that I've made very few of and don't see all that many patterns for, but I'm so excited I finally found the right combo!  This is such an easy pattern to put together and so speedy, I cut it out one evening and by lunchtime the next day, I had a new cardigan.  The only thing I don't like about the instructions is that is isn't clear that so much extra fabric is needed for the doubled over cardigan and I did not have enough fabric to do this.  It's not a big deal in this black fabric as very little is visible but in another fabric I think I'd prefer to have the doubled over collar.


So although the weather in the UK is grim at the moment, its still too warm for this cardigan really, which is perfect as it means the wool is doing its job.  Winter Alexa will thank me.

These items are my entry for one of the monthly stitch indie pattern month challenges  and I'm so pleased with my outfit.  

Sunday, 23 April 2017

Jeans!!!!

Hi All.  It's been a little while but I've been completing my doctoral thesis and when I needed a break, the last thing that I wanted to do was to stay at my computer writing more words.  Also, trust me, none of you wanted to see pictures of me during this period!  However, I was doing a fair amount of sewing in my breaks, so have a bit of a backlog of stuff to show you.


First up are the Mia jeans from the Sew Over It capsule wardrobe ebook. I bought this as soon as it was released and any of you who follow me on Instagram may have seen that I made the Alex shirt, but found it way too oversized, although I like the concept so I may make another one in a smaller size.  I've just spotted that the petite passions has had the same issues with this shirt and they have been resolved by making a smaller size so I think my plan is made. However, one of the main reasons that I bought the ebook was because I wanted a fairly easy intro to making jeans.


The pattern really didn't disappoint.  While most of the instructions are really clear, Lisa's video for the fly front really aids with this step, although I still didn't get it spot on.  These came together really quickly and easily and I couldn't recommend the pattern enough.  I'm made up with having made my own jeans.  I'm particularly happy since I went shopping this weekend and when trying on trousers had my regular issues with them not even remotely fitting me.  It was so nice to put my properly fitting jeans back on again afterwards.


The denim that I used was this one from Sew Crafty and it was perfect for the job.  In fact since this version is perfectly wearable but far from perfect, I'm going to order some more to make a better version.  They have it in jade and pink too which are tempting, maybe I need jeans in all the colours! I love the red topstitching on this version and I think I'll repeat on a future version.  The topstitching was no where near as difficult as I thought it would be but it's not totally straight everywhere and I had this irritating mismatch where all the legs seams meet.


I made a size 14, grading to a 12 at the waist and essentially it fit me perfectly with very few adjustments.  I had to let it out slightly at the calves (clearly my running and heel wearing has built up some hefty calf muscles) but the generous seam allowances make this really easy to do.  I should have lengthened these jeans as they've come up too short, while they're fine worn with boots, I'm going to get chilly ankles if I wear them with shoes and I have very strong feelings that no part of me should ever be chilly.  I'm trying to decide if they are just a smidge too high waisted and there's some excess fabric which I think would be removed if I cut out cm or 2 from the length between crotch and waist.  Feel free to chip in with your thoughts.  I'm going to wear them a bit more to decide before the next version.

Anyway, it's good to be back chatting about sewing again. See you soon! 

Saturday, 4 March 2017

Sometimes you just need to geek out

I was so honoured to be asked to be part of the SewCrafty design team and when browsing their selection of fabrics a few of them jumped out at me.  It was so hard to select what I wanted to make first.  In the end my first order looked like this:

The dark fabric is for a slightly more complicated make that will feature soon but when I spotted the sewing machine fabric and tape measure ribbon, I knew that they had to be paired in some way.  Although I love bright colours and patterns, novelty clothing is a step too far even for me so this pairing was made into a pair of pyjama bottoms.


I'm a little bit obsessed with the Ultimate pyjama pattern from Sew Over It.  I made about 5 pairs before Christmas (mainly as gifts) and decided to bust it out again for this fabric.  As I've made so many of these, I know that I can squeeze them into a meter and a half, so this was the amount that I ordered.  However, clearly I haven't made these in a metre and a half of directional fabric as I struggle to fit these on and in the end just had to ignore the grainline, but realistically they are pyjamas, who is going to know (apart from you guys) or care!
I love the combo of this fabric and ribbon (although it was surprisingly difficult to photograph) but I'm very aware that this is probably the geekiest thing that I've ever made!  I'm struggling to care though and these pyjamas have been in heavy rotation since I finished them.  I whipped up a Sewaholic Renfrew, minus the hem band, as a coordinating top.  The fabric for the top has been in my stash for ages and I now have no idea where it came from.

For Christmas I made some of these pj bottoms, with matching eye masks and lingerie bags for my sister and some friends.  They were really pleased with them and if I say so myself, they were pretty cute sets.  A little inspiration for you, if you're looking for some lovely and speedy gift ideas.  They can be luxurious in a silk or satin or fun in a printed cotton like these pjs.  When I've made eye masks, I've used this pattern and tutorial from Tilly and the buttons.
Thanks so much to Sew Crafty for the fabric and I can't wait to show off my next make.  See you soon.

Tuesday, 7 February 2017

Francine jacket and class

So today I have what I think is a pretty epic make but has been a seriously long time in the finishing! Back, last summer, I signed up to take the Sew Over It, Francine jacket class and it's taken me until now to finally finish up the jacket and blog about it!  Plus you get some bonus pictures from my recent trip to Paris.
 Classic tourist shot!

I've taken a couple of classes at Sew Over It, both with Julie as the teacher and while they're not cheap,  definitely think they're worth it.  The fitting advice that Julie provides is invaluable and I love that they have toiles of all the makes so you can get an idea of fit and size, without having to make up your own toile, which I'm always too lazy to do.

I made my jacket from this cream wool which came from my mum's stash and is actually older than I am.  Before the class, I went shopping for a suitable fabric on Goldhawk road and from a red herringbone.  As I have zero will power, I also bought a bunch of other fabrics at the same time.  When I got home, I was a good sewist and stuck my purchases in the washing machine to prewash.  About half way through the cycle, I realised that I'd put the wool in with the other fabrics-mega oops!  The fabric had shrunk in size and was completely unusable for the jacket.  Luckily my mum could come to my rescue (and actually I like this wool better than the original).  The lining is made from a really gorgeous mint silk that I got from simply fabrics in Brixton. I'm really kicking myself that I didn't buy more. I would love a top made from this, although since I'm still in my (eternal) search for a top pattern that I like/works for me, I wouldn't actually have been able to make it up yet. It was a slippery bugger though, and since I'd love to have some more silk items in my wardrobe, I should brush up on my silk techniques because it really does deserve skill and attention.

While the class was great, it was pretty intense and knackering learning all the new tailoring techniques.  Plus there is a lot of hand sewing/tacking involved in making a jacket which is really not my favourite thing to do when making clothes (although weirdly I like it at other times). It was also held over 3 of the warmest weeks in London and none of us in the class wanted to be trying on our jackets during the classes as we were already melting.  August is obviously the logical time to be making a wool jacket!
One of the reasons, I took quite so long to finish this jacket was that Julie told us about the amazing service provided by DM buttons in Soho and I wanted to go and have my buttonholes professionally done.  As they are only open 7-3 on weekdays, and I work 9-5 in a totally different area of London, this was tricky to achieve.  However, I finally made it and was able to finish off the jacket with these vintage black and gold buttons from my stash.

I'm really pleased that I finally got round to finishing the jacket and can now wear it for the rest of our miserable winter.  It kept me nice and toasty for a wander around Paris and little trip to Marche St Pierre.  My long suffering sister took blog photos and then entertained herself by taking pictures of me touching all the fabric!

Personally I think I was fairly restrained, I came away with these 4 fabrics; a couple of gorgeous jerseys, a giraffe quilting cotton for a baby quilt that I'm making and a length of silk to try some of these careful silk techniques that I was talking about.

Anyway, I'm off to dream about what to make with them, while simultaneously trying to write my thesis!  Have a lovely week all! 

Monday, 19 December 2016

Embracing the colour

Months ago I ordered this stretch cotton from SewCrafty with the express purpose of making a pair of Sew Over It, Ultimate trousers.  However, when the fabric arrived I got it into my head that I hadn't ordered enough (no idea why, as it was the perfect amount) so the fabric got relegated to my stash.

However, recently I pulled it out again and came to my senses!  I sewed it up really quickly into another pair of Ultimate trousers.  I don't really have a lot to say about this as I've made a number of other versions before here and here.  I love that I now have a pair of well fitting trousers that as an added bonus, come together really quickly.  

I really needed some more trousers for my wardrobe and while these are fun and fill a gap, the next pair should maybe be in neutral colour!  Although I think the next pair of trousers I make may be a pair of Mia jeans.  I've had loads of compliments on these when I've worn them though which is always a bit of a boost to my confidence.


 Most of these photos were taken by my flatmate in our extremely messy garden (thanks Grace) and she managed to catch one of me picking the only apple my little apple tree produced this year.

I hope you're all enjoying preparing for Christmas and I look forward to seeing the wonderful outfits that pop up on your blogs.  I'm off to finish some last minute Christmas presents.