Showing posts with label Sew crafty design team. Show all posts

Monday, 18 June 2018

When things don’t work out the way you planned

Todays makes were ‘made’ a couple of months ago but somehow took another couple to actually feel properly wearable and be photographed.  However, you're getting a bumper set of makes!  For this Sew crafty design team project I had a really clear vision of a Nettie dress in this gorgeous monochrome jersey with a mustard Coppelia cover up in this jersey. However, the even the best laid plans don’t always go as planned.  


First up is the Nettie dress. This pattern has got to be one of my most used patterns. I reckon this is at least version 10, I’ve made it, I’ve hacked it, it’s great. However, in some fabrics, I really need to go up a size in the hips/lower stomach as I could do with some more wiggle room. I’ve become a lot more self conscious about my stomach recently and sadly when I wore this dress during me Made May I just felt too uncomfortable. I knew I just wasn’t going to wear it after that and so started to think about what to do to rescue the fabric which I loved!  It really wasn’t the biggest leap to cut it shorter into a top.
 

This top works really well tucked into trousers or skirts and I’m glad I was able to rescue the fabric as I just love the print.  It’s also made me realise that the one version of the Nettie that I’ve never made is the body suit! One to go on the list! 
 

The coppelia cardigan has been on my to make list for the longest time. However, when I was making it up I really struggled with instructions. I’ve gotten so used to indie pattern instructions being super clear that I was really disappointed by these ones. At times they really had me scratching my head.  I've had so many people tell me recently that the instructions for papercut patterns are so good that I was starting to feel particularly dim, however, on reading through some more blog posts about this pattern, others seem to have struggled in the same areas. 
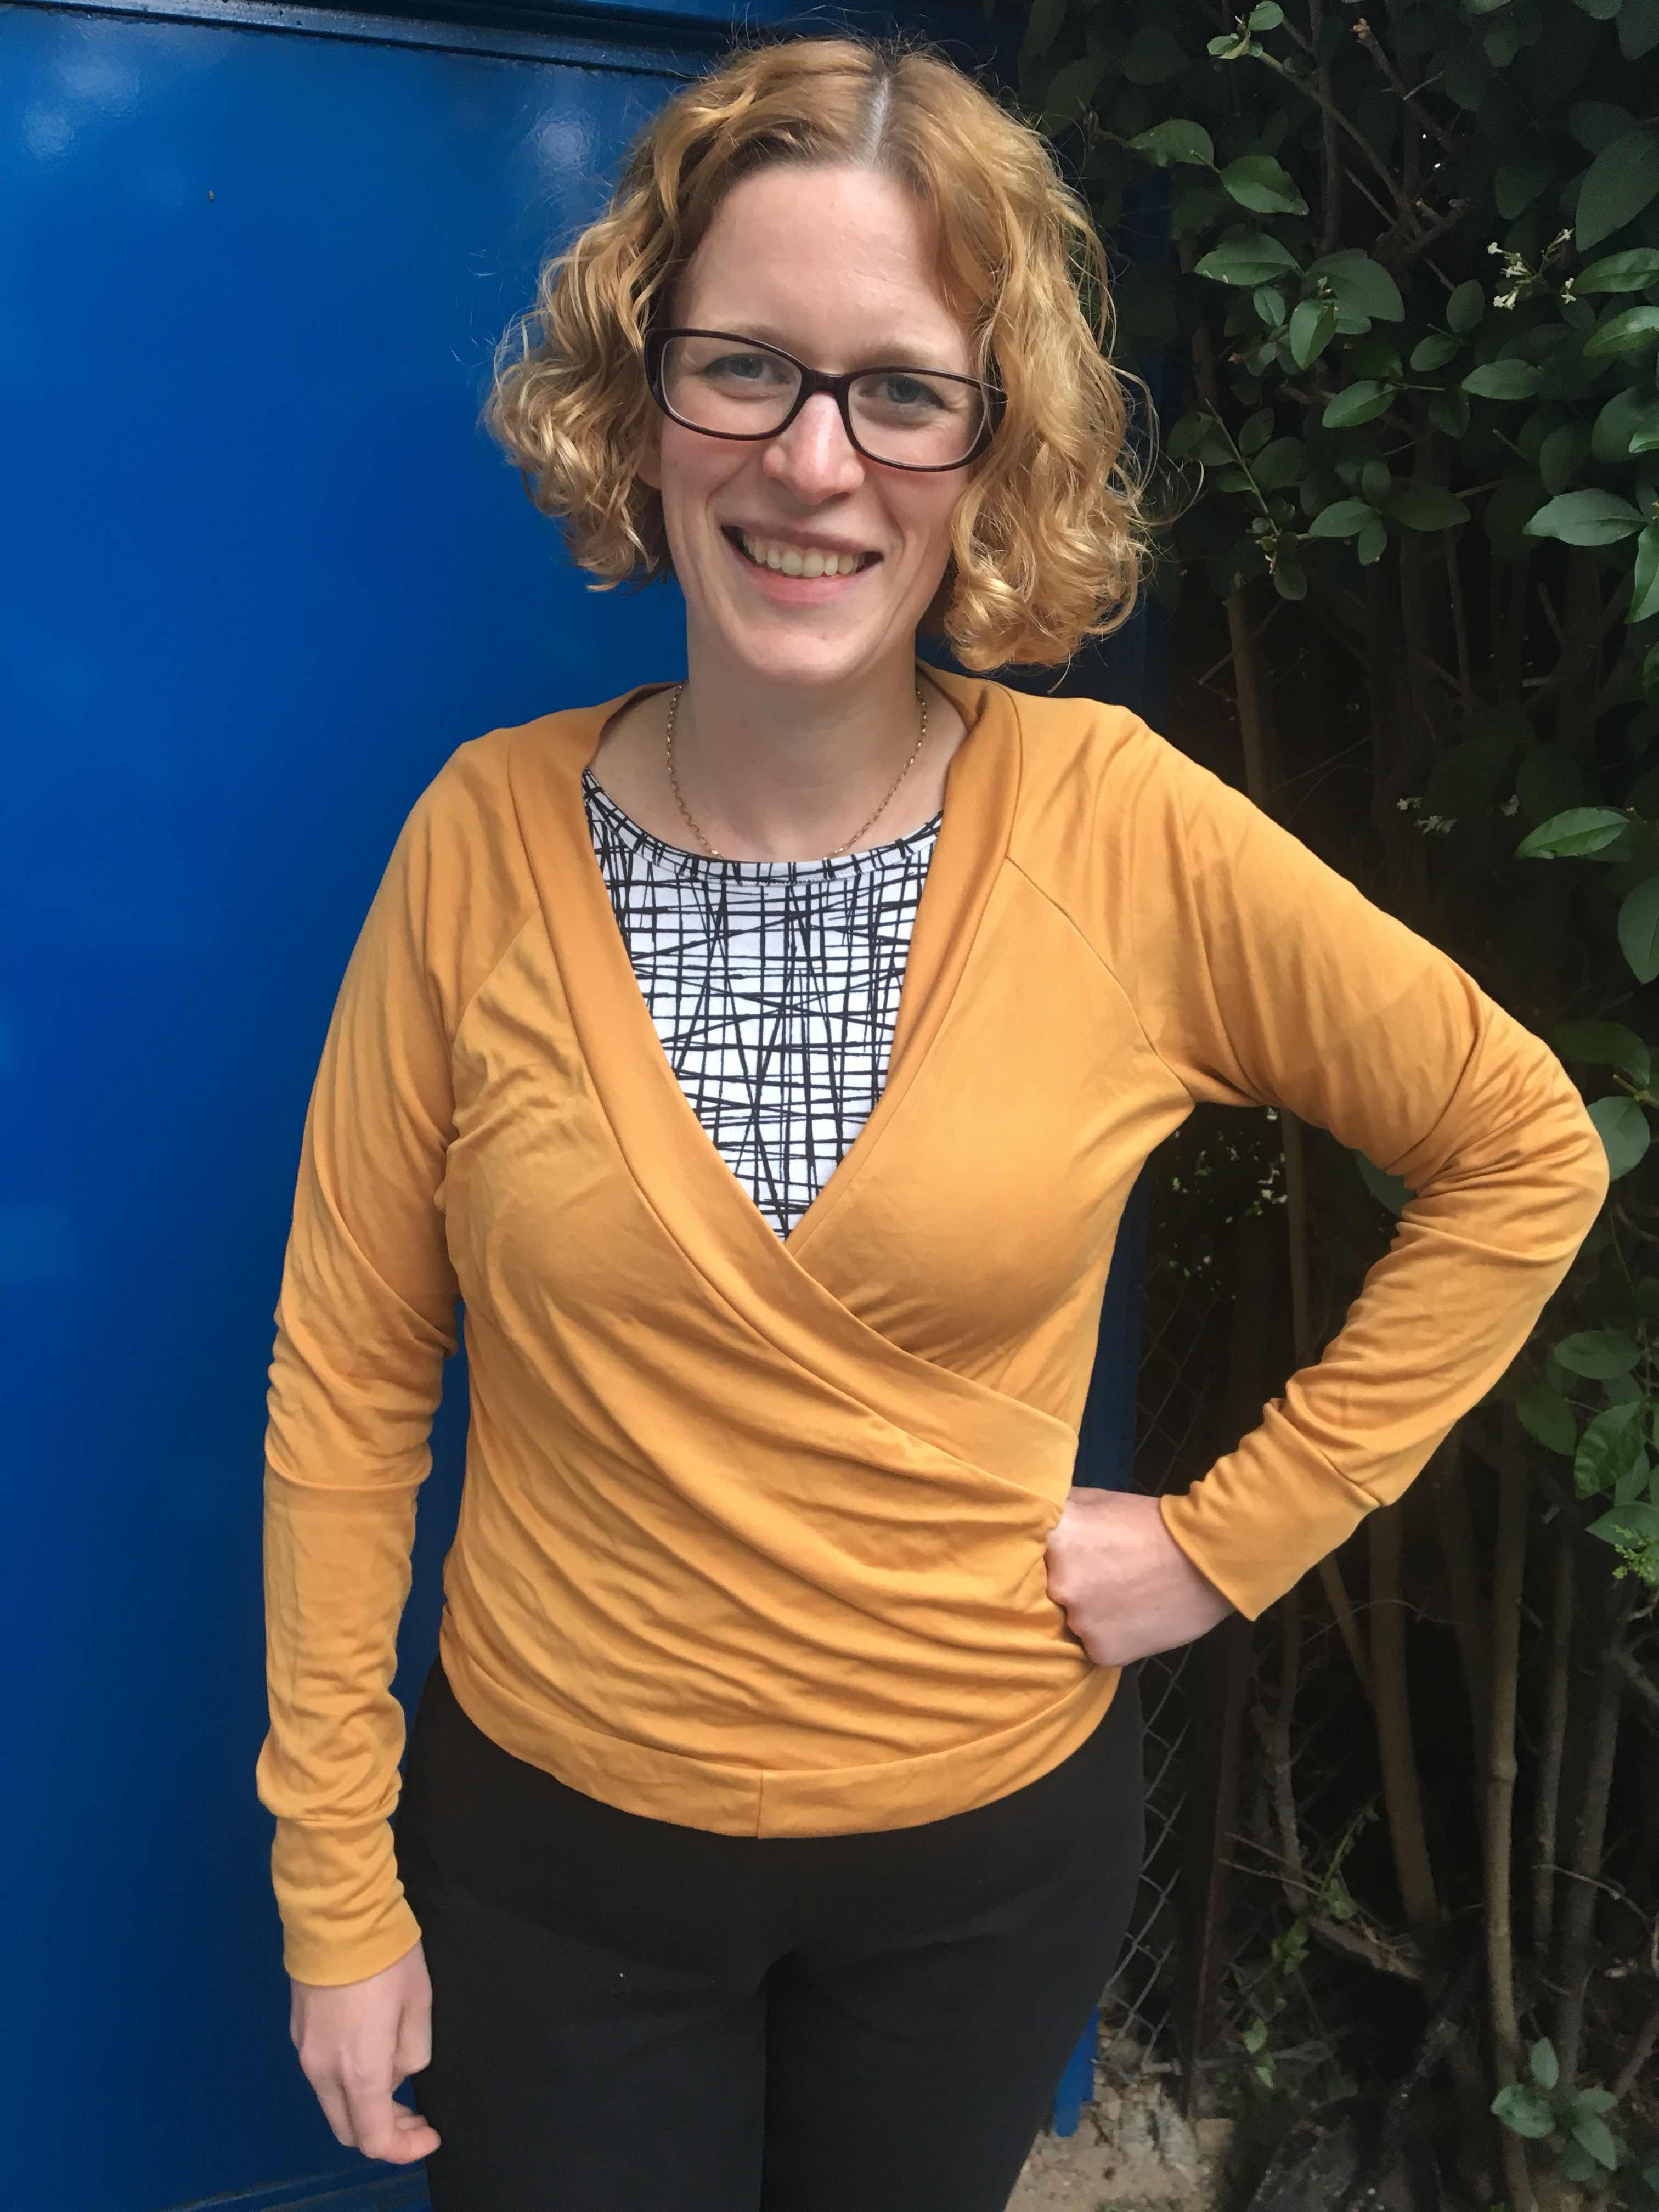
 
 
I made the cropped version but lengthened it a little as I have a long torso-turns out that was a mistake! I should have left it alone as it’s now slightly too long. I’m also really bothered by the seam line right in the middle of the ties. It feels like a sloppy design but I don’t know if I put it on incorrectly as I've been stalking other people's versions and they don't seem to have this issue, or if it's a design or instruction fail.  I feel like this join should be at the side and I'm trying to decide if I can bother taking it off and reattaching where I think it should be.  

 
I’m not sure what the fabric content of this jersey is as it’s not stated on the site but it’s really drapey and feels lovely. I’m not sure if it was the greatest choice for this top. It may be a little too drapey, it may have worked better in something with a bit more structure. I'm still undecided about this cardigan, I may make the adjustments and I may even make another to fully decide but at the moment it's not love!
 
 The sew crafty shop has recently started stocking all the rainbow colours of fold over elastic which got me a little bit excited as I could then make knickers out of the jersey scraps I've got knocking around!  I used the Jennifer Lauren Nixie pattern and they were so quick to knock up.  The fact that I have a matching pair for my new Nettie top gives me a geeky thrill! 
 
This was my first foray into underwear and it was a really nice one to get started with, some fancier bits and pieces may hit the blog at some point!  

Tuesday, 27 March 2018

Getting my sewjo back


Hi anyone who is still reading these pages, its been a long time since I had anything to say here.  I’ve had a fairly insane 6 months or so, I finished my doctorate, went travelling (to Japan, I may blog about this later because I bought a lot of fabric), started a new job and moved house!!! It was all pretty intense and all my sewing stuff was in boxes for all of these months.  When I was away, this bothered me a lot less but when I got back I realised how much sewing had been part of my everyday life and there was a big hole there! It's felt so great these last few weeks to be able to do some actual sewing rather than just imagining I'm sewing which is all I've been doing for the last few months.  I found that really stressful as I was creating all these projects in my head and couldn't achieve any of them!
 

However, some stuff has come out of boxes and I have been able to put together some bits and pieces over the last month and I thought I’d relaunch my blogging with my latest Sewcrafty design team project.  When the lovely Sewcrafty ladies reached out at the beginning of the year to see if I still wanted to be part of the team this year, I obviously said yes, despite the fact that at this point my sewing machine was still in a box!  Clearly the practical part of my brain shuts down around any sewing related decisions-obviously this is what happens any time I see a new pattern or go fabric shopping as well!

Anyway as Sewcrafty had this gorgeous poly-viscose mustard crepe in stock I decided this was what I was going to use for my first project.  This is a bit of a departure from my usual fabric choice, I usually pick natural fibres and lean towards ALL THE PATTERNS.  However, I really liked the colour and I think my wardrobe would benefit from a few items in a solid colour.  I did not regret my fabric choice, this fabric was such a dream to work with, quite stable but lovely and spongy so stitches, even my awful hand stitches, just sunk in.
I used Butterick 5478 top pattern, from the 1970s, as my base because I had made it before and thought it would work well lengthened into a dress.  I also keep seeing dresses with big belt details around and have been wanting to make one for a while.  A lot of dresses in Japan were like this, I guess inspired by the Obis worn with Kimonos which were really beautiful.  I made mine by doubling the width and length of the pattern belt and I interfaced the whole thing as I wanted it to have quite a bit of body and dramatic folds. 

The construction of the dress was all fine except for the collar/neckline which I somehow managed to completely fluff, twice!  I think I may be a bit jinxed with this pattern as last time I made it (in a cotton and silk blend) I managed to melt it by getting bleach on it, literally seconds after I had finished making it! Anyway after I had failed to make a functional collar twice and had a series of major swearing sessions, I decided to make a change and make some bias binding to finish the neckline and create some tie closures.
In the end, I'm really pleased with this dress and I love the fact that I feel like I'm returning to sewing and blogging with such a 'me' dress.  Even if there are no patterns in sight, the 1970s style means I'm at least sticking true to form!  Also having worn this dress a few times, I don't find it's as sweaty as other poly fabrics so maybe there's just the right amount of viscose in there to allow it to breathe.  Perhaps I shouldn't be quite so prejudiced against all poly fabrics!  Actually Sew Crafty also have this fabric in a wine red as well and I'm quite tempted to get some of that too!
A big thanks to my lovely friend Dominika for taking the photos!  I'd forgotten how annoying I find getting blog photos and she was so good at ensuring she had taken some decent shots, in good lighting and that I didn't have my eyes shut in all of them!
 
Thanks for reading.

*The fabric was supplied to me free of charge by Sew Crafty, all opinions are my own.


Friday, 28 July 2017

A long time in the making!

Today I have two projects to share that have been a really long time in the making.  The first up is a Sew Over it Vintage Shirt dress which is my latest Sew Crafty Design team project.  However, I ordered the fabric for this months ago and have only just got round to making it.  It's been a super busy few months and I'm happy I can now celebrate the end of them with a new dress.


This is made in a dashwood quilting cotton from the altitude collection at Sew Crafty.  This is a really gorgeous range of cottons which are perfect for a dress like this.  For years I mainly bought cottons like these as they are so easy to work with and come in amazing patterns and colours.  Then I moved away from them to other fabrics as I expanded the range of what I could sew and my stash was surprisingly low in this kind of fabric.  I really must rectify this as I do really enjoy working with them.


This is my fourth version of this dress (I really love this pattern) so I have the fit changes sorted by now, although I did have a few other changes that I made. I hadn't ordered quite enough fabric so I made a couple of adjustments; I made the shirt a smidge narrower and made the sleeves short rather than 3/4 length with a cuff.

I then ventured out into the rain to take some photos which was much rougher on my photographer than on me, so thanks Nini.

The Julia cardigan was circling the blogosphere a few years ago and when I checked my harddrive, I've had it stored for 2 years without ever getting round to printing the pattern and making it.  Part of the reason for my lack of action was the difficulty in finding the right fabric.  I really didn't want a polyester cardigan which ruled out a ponte or something similar.  Also as I really feel the cold, I wanted something with a wool content rather than just cotton.  Anyway, a few weeks ago I found the perfect black wool jersey in my local fabric shop and as my trusty RTW black cardigan has started sprouting holes, it felt like fate!

Cardigans and jumpers are still the items that I've made very few of and don't see all that many patterns for, but I'm so excited I finally found the right combo!  This is such an easy pattern to put together and so speedy, I cut it out one evening and by lunchtime the next day, I had a new cardigan.  The only thing I don't like about the instructions is that is isn't clear that so much extra fabric is needed for the doubled over cardigan and I did not have enough fabric to do this.  It's not a big deal in this black fabric as very little is visible but in another fabric I think I'd prefer to have the doubled over collar.


So although the weather in the UK is grim at the moment, its still too warm for this cardigan really, which is perfect as it means the wool is doing its job.  Winter Alexa will thank me.

These items are my entry for one of the monthly stitch indie pattern month challenges  and I'm so pleased with my outfit.  

Sunday, 28 May 2017

A vintage outfit!

A couple of months ago the lovely ladies at SewCrafty asked if I'd do a hack of their shift dress pattern and sent me some gorgeous materials to do it with. However my version did not work at all so I threw it in the corner and sulked for a while.

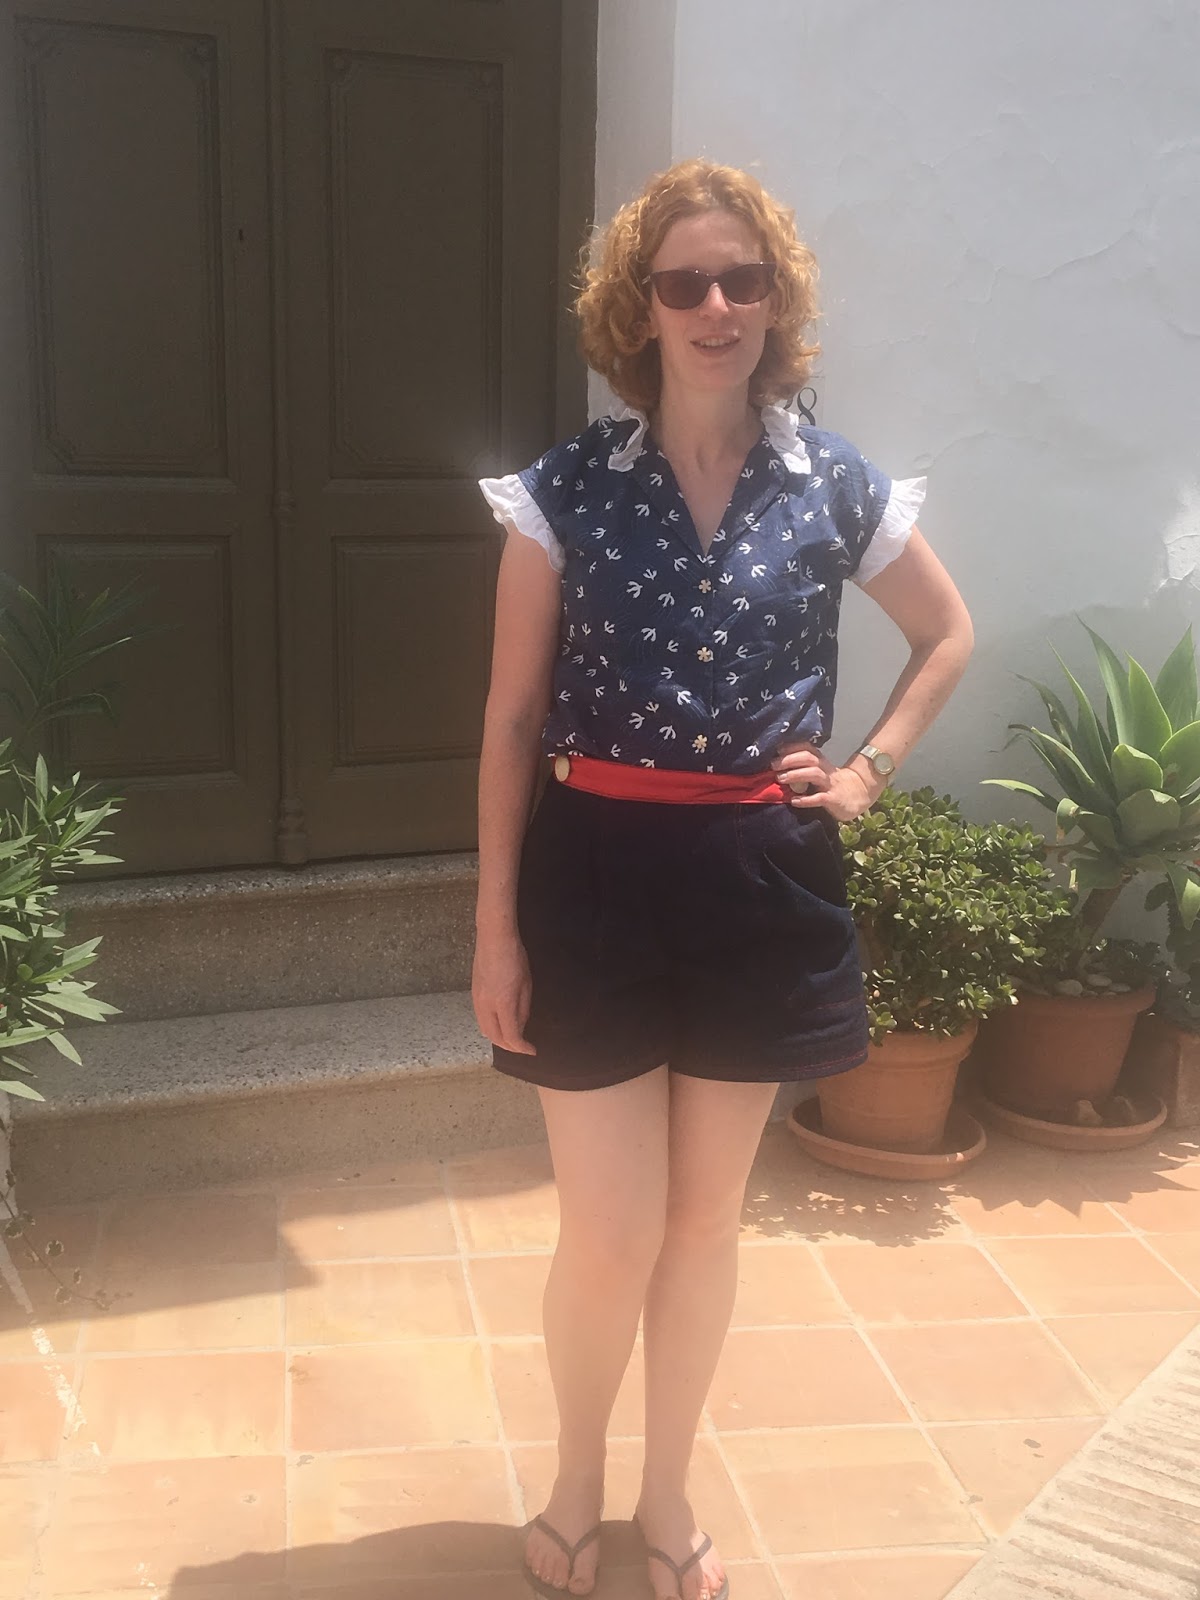
And then I came to my senses and realised that I wanted to do something with the altitude bird cotton that SewCrafty had sent me so I decided to refashion it into something that I would actually wear. Enter this vintage summer blouse pattern from 1982 (apparently this is the year that I sew the 1980s!).  I hummed and ha-d over what size to make and luckily I had decided on the size 12 because when I got it out of the packet this size had already been cut out. I'm not sure where I bought this pattern from, I'm going to guess it was part of a job lot on eBay but I guess I'm lucky that my size remained in tact.

I'm not really a fan of ruffles but they've been popping up everywhere this summer and I thought the ruffled version of this looked cute without being too OTT so I gave it a go. Although I used some little flower buttons from my stash so I wasn't exactly trying to move too far away from the 'cute' factor!  The ruffles were made from some scraps of a cotton linen blend that I had in my stash.


I want so many versions of this top! I've been searching for a good shirt/top pattern for ages and this might be the one! Although I wish it had a sleeved version as in it's current form, it's only good for summer. However hopefully we've got months of summer left so I can enjoy this for a while.


The shirt was worn on holiday with a new pair of Megan Neilsen Flint shorts.  I seem to have become a little bit obsessed by this pattern.  Personally I think this is a super cute look and is also giving off more 1930s vibes. I made the shorts from a scrap of denim that I had in my stash, that I think my mum donated at one point, and some scraps of stretch cotton.  I also used 2 vintage buttons also from my stash. Basically, these were a great stashbuster!


I used red topstitching on the denim and navy topstitching on the waistband and for the button holes. I have done a lot of topstitching recently and I think it adds a really nice detail but maybe it's time to give it a rest now!  I'm actually wearing these shorts as I type, since the weather in the UK has decided that it's properly summer.  I hope you all have a lovely weekend in the sunshine!

Sunday, 23 April 2017

Jeans!!!!

Hi All.  It's been a little while but I've been completing my doctoral thesis and when I needed a break, the last thing that I wanted to do was to stay at my computer writing more words.  Also, trust me, none of you wanted to see pictures of me during this period!  However, I was doing a fair amount of sewing in my breaks, so have a bit of a backlog of stuff to show you.


First up are the Mia jeans from the Sew Over It capsule wardrobe ebook. I bought this as soon as it was released and any of you who follow me on Instagram may have seen that I made the Alex shirt, but found it way too oversized, although I like the concept so I may make another one in a smaller size.  I've just spotted that the petite passions has had the same issues with this shirt and they have been resolved by making a smaller size so I think my plan is made. However, one of the main reasons that I bought the ebook was because I wanted a fairly easy intro to making jeans.


The pattern really didn't disappoint.  While most of the instructions are really clear, Lisa's video for the fly front really aids with this step, although I still didn't get it spot on.  These came together really quickly and easily and I couldn't recommend the pattern enough.  I'm made up with having made my own jeans.  I'm particularly happy since I went shopping this weekend and when trying on trousers had my regular issues with them not even remotely fitting me.  It was so nice to put my properly fitting jeans back on again afterwards.


The denim that I used was this one from Sew Crafty and it was perfect for the job.  In fact since this version is perfectly wearable but far from perfect, I'm going to order some more to make a better version.  They have it in jade and pink too which are tempting, maybe I need jeans in all the colours! I love the red topstitching on this version and I think I'll repeat on a future version.  The topstitching was no where near as difficult as I thought it would be but it's not totally straight everywhere and I had this irritating mismatch where all the legs seams meet.


I made a size 14, grading to a 12 at the waist and essentially it fit me perfectly with very few adjustments.  I had to let it out slightly at the calves (clearly my running and heel wearing has built up some hefty calf muscles) but the generous seam allowances make this really easy to do.  I should have lengthened these jeans as they've come up too short, while they're fine worn with boots, I'm going to get chilly ankles if I wear them with shoes and I have very strong feelings that no part of me should ever be chilly.  I'm trying to decide if they are just a smidge too high waisted and there's some excess fabric which I think would be removed if I cut out cm or 2 from the length between crotch and waist.  Feel free to chip in with your thoughts.  I'm going to wear them a bit more to decide before the next version.

Anyway, it's good to be back chatting about sewing again. See you soon! 

Saturday, 4 March 2017

Sometimes you just need to geek out

I was so honoured to be asked to be part of the SewCrafty design team and when browsing their selection of fabrics a few of them jumped out at me.  It was so hard to select what I wanted to make first.  In the end my first order looked like this:

The dark fabric is for a slightly more complicated make that will feature soon but when I spotted the sewing machine fabric and tape measure ribbon, I knew that they had to be paired in some way.  Although I love bright colours and patterns, novelty clothing is a step too far even for me so this pairing was made into a pair of pyjama bottoms.


I'm a little bit obsessed with the Ultimate pyjama pattern from Sew Over It.  I made about 5 pairs before Christmas (mainly as gifts) and decided to bust it out again for this fabric.  As I've made so many of these, I know that I can squeeze them into a meter and a half, so this was the amount that I ordered.  However, clearly I haven't made these in a metre and a half of directional fabric as I struggle to fit these on and in the end just had to ignore the grainline, but realistically they are pyjamas, who is going to know (apart from you guys) or care!
I love the combo of this fabric and ribbon (although it was surprisingly difficult to photograph) but I'm very aware that this is probably the geekiest thing that I've ever made!  I'm struggling to care though and these pyjamas have been in heavy rotation since I finished them.  I whipped up a Sewaholic Renfrew, minus the hem band, as a coordinating top.  The fabric for the top has been in my stash for ages and I now have no idea where it came from.

For Christmas I made some of these pj bottoms, with matching eye masks and lingerie bags for my sister and some friends.  They were really pleased with them and if I say so myself, they were pretty cute sets.  A little inspiration for you, if you're looking for some lovely and speedy gift ideas.  They can be luxurious in a silk or satin or fun in a printed cotton like these pjs.  When I've made eye masks, I've used this pattern and tutorial from Tilly and the buttons.
Thanks so much to Sew Crafty for the fabric and I can't wait to show off my next make.  See you soon.