Showing posts with label handmade wardrobe. Show all posts

Monday, 3 September 2018

Sweet as honey

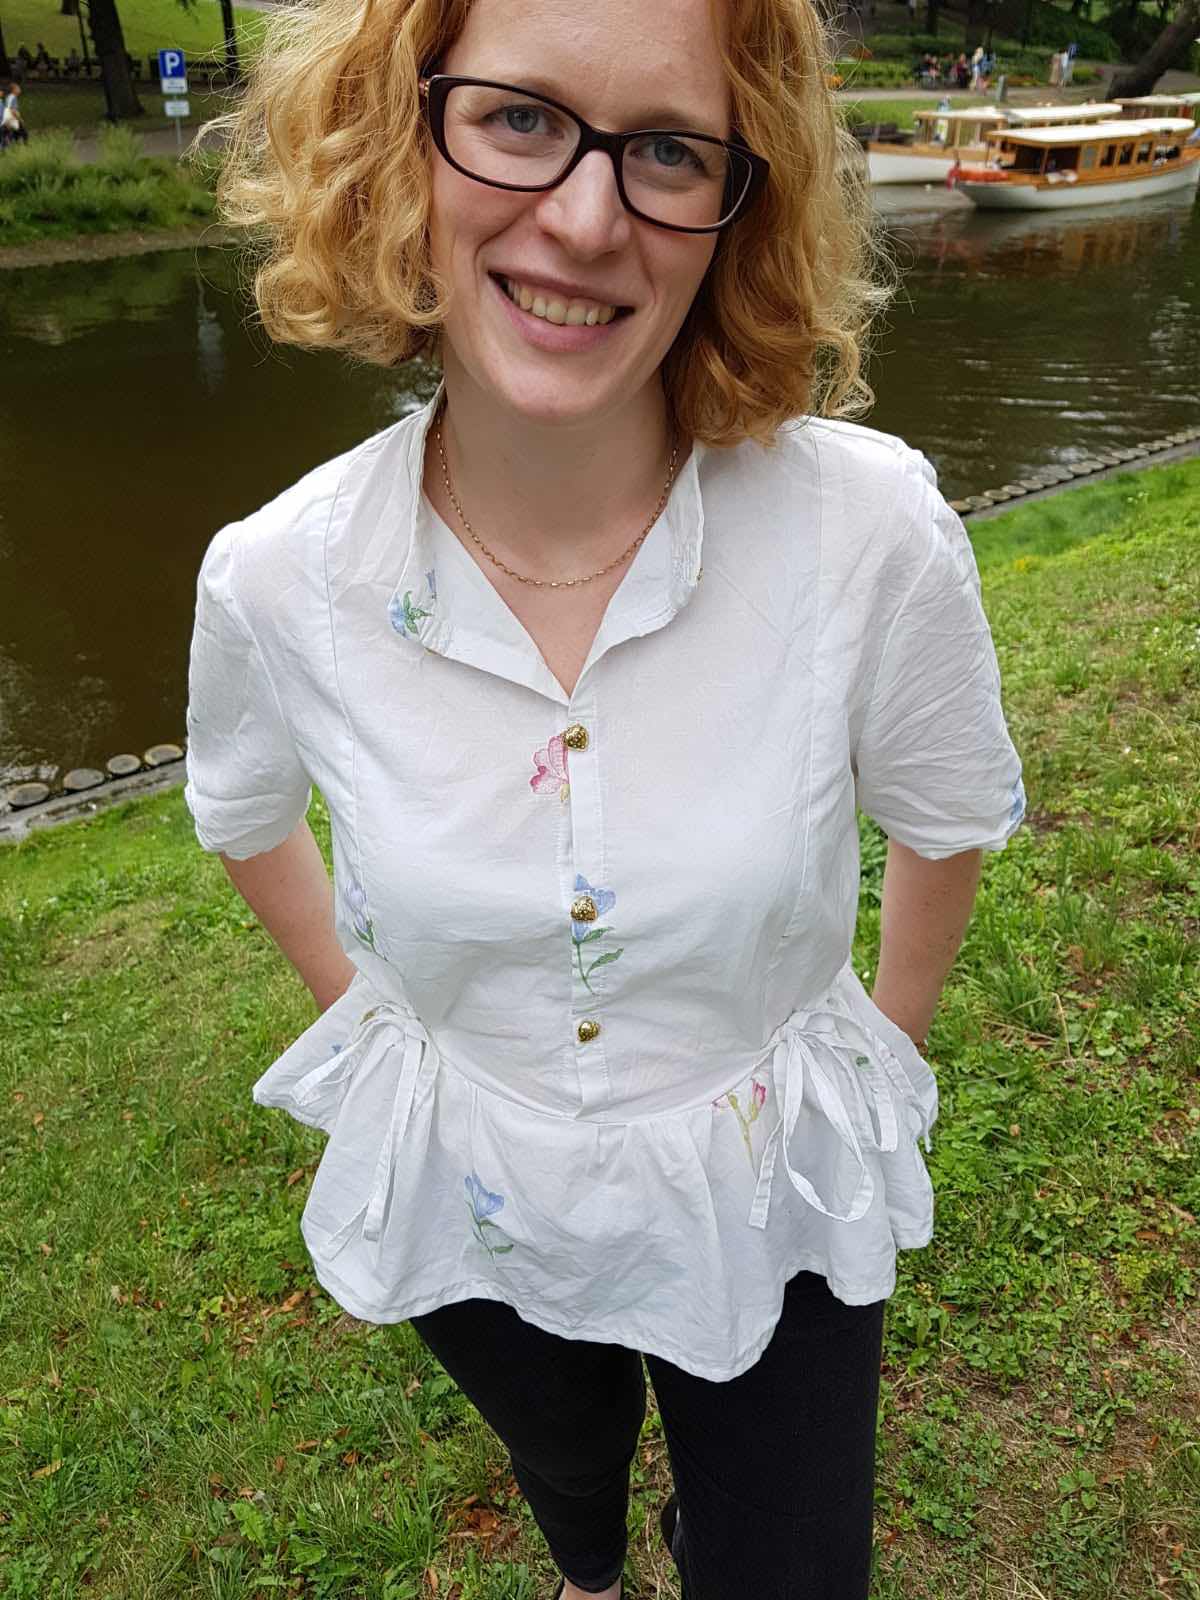
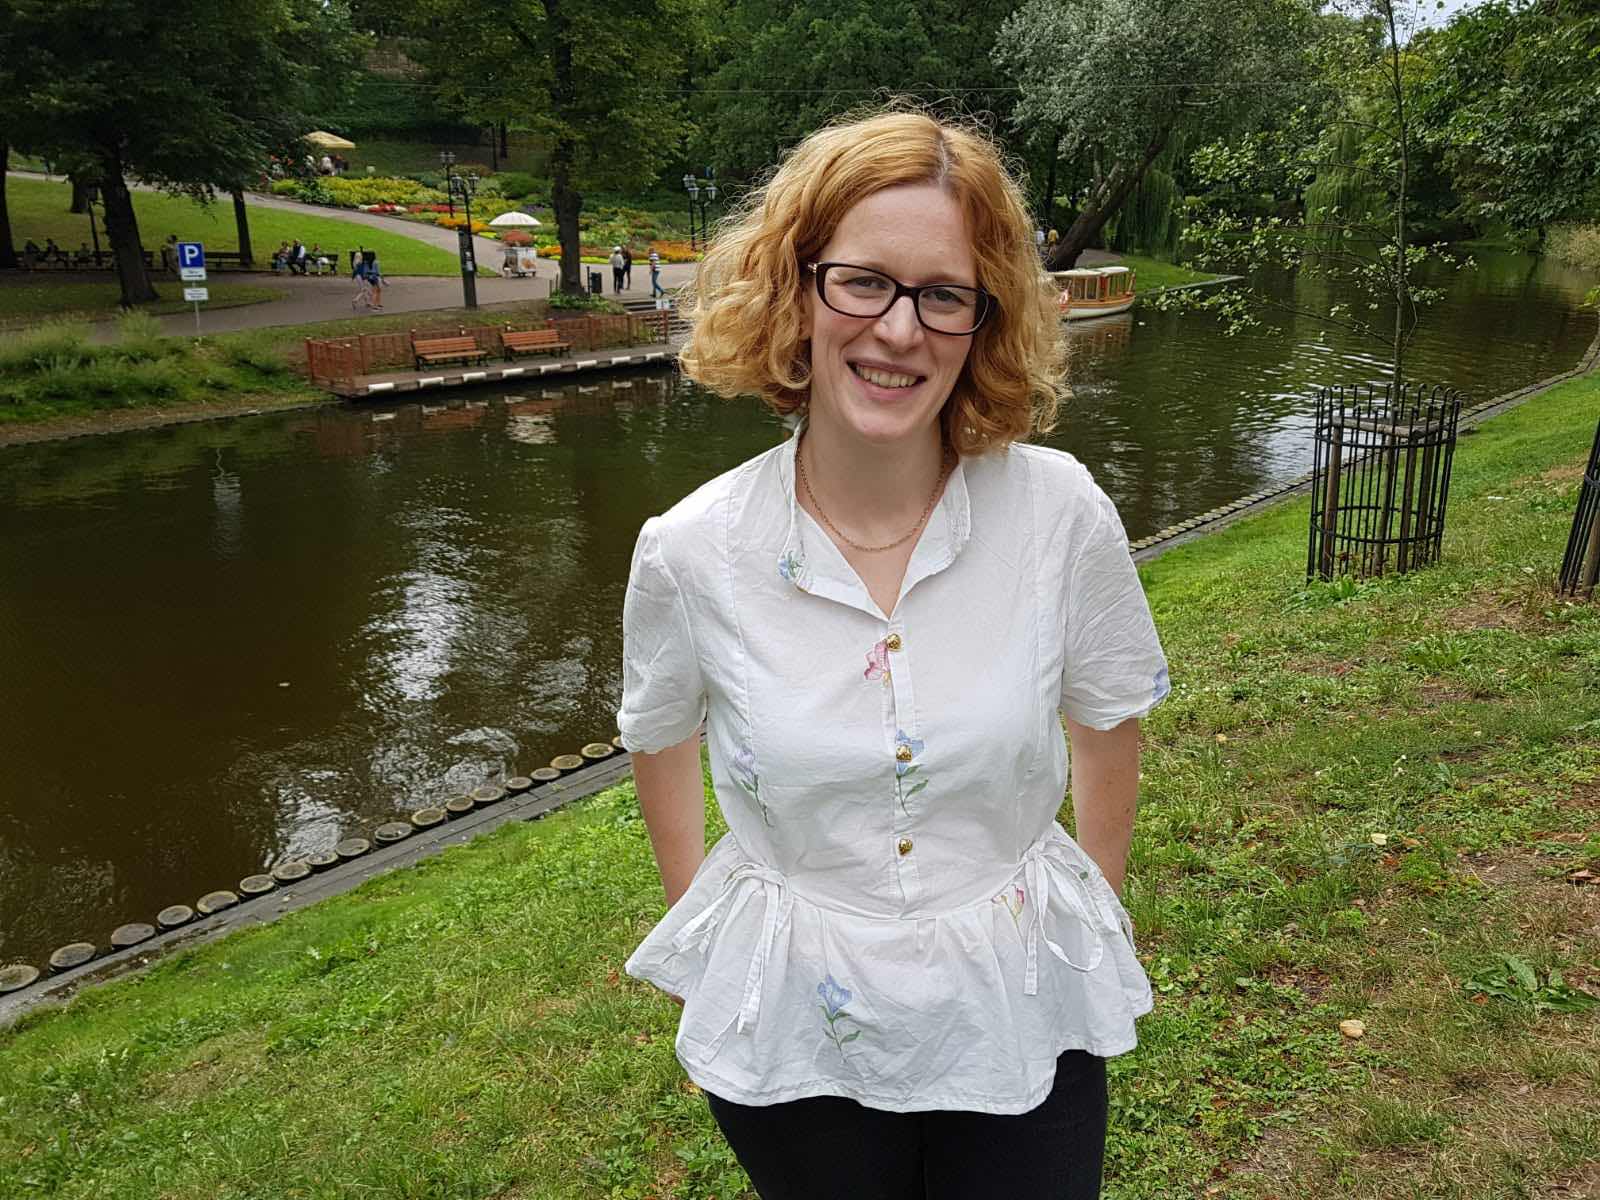
I really loved the honeycomb shirt and dress by Ana from Cocowawa when it was released but I attempted to resist buying it as my sewing output has reduced and I’m so I’m attempting (and failing) to reduce my fabric and pattern buying too.  However, there were so many gorgeous versions popping up on my instagram that I couldn’t help it.  I love a shirtdress, they must be among the most worn items in my wardrobe so the fact that this pattern offers a dress and top versions is a real bonus.

This was my first Cocowawa pattern, while I love some of her other patterns, they are a bit too casual for my mainly work wardrobe, although the Chestnut gives me all the heart eyes and is seriously calling to me.  I was really impressed with the pdf, it seemed to have be planned with economy of paper (and sticking time) in mind and is only 28 pages for all the different versions. 


I made up a size 4, grading to a 6 over the hips, as per my measurements and found it to be pretty accurate but this is a loose fitting top.  I used the remnants of an old duvet cover that I had bought in a charity shop and used to make my vintage halter neck dress.  I found the instructions for the most part really good.  Everyone has been raving about the burrito method for closing the yoke but I wasn’t paying attention at this point and so just stitched my yoke shut and finished it in the way I would any other seam so mine is not so pretty on the inside.  The only thing I struggled with was buttonhole on the mandarin collar, I was struggling to get a neat buttonhole on the collar because of the fabric bulk and then I realised that it wouldn’t close over the other side properly even if I got one so I simply decided to sew buttons on both sides of the collar and call it a feature.  I had a little look on instagram and there seems to be a mix of buttonholes and no buttonholes on the collar so I don’t know if that’s something I fluffed or not.


I love the bow details and can’t wait to make a winter dress complete with the sleeve bows too!  When we were taking these photos, I realised I have a gaping problem between the buttons.  It’s not going to bother me enough to do anything about on this version but on a future one, I think I’d add in more buttonholes, I have space for them as I lengthened the bodice so I could definitely get away with one more.  I used these super cute little strawberry buttons from my stash, I bought them on a market years ago but I don't remember which one. 

Although my face seems huge in this photo, it's probably the best photo of the top so I'm just going to have to deal with looking like a bobble head doll! 

I really recommend this pattern and am looking forward to future versions becoming part of my shirtdress wardrobe!


Friday, 13 July 2018

Starting to feel a bit put together

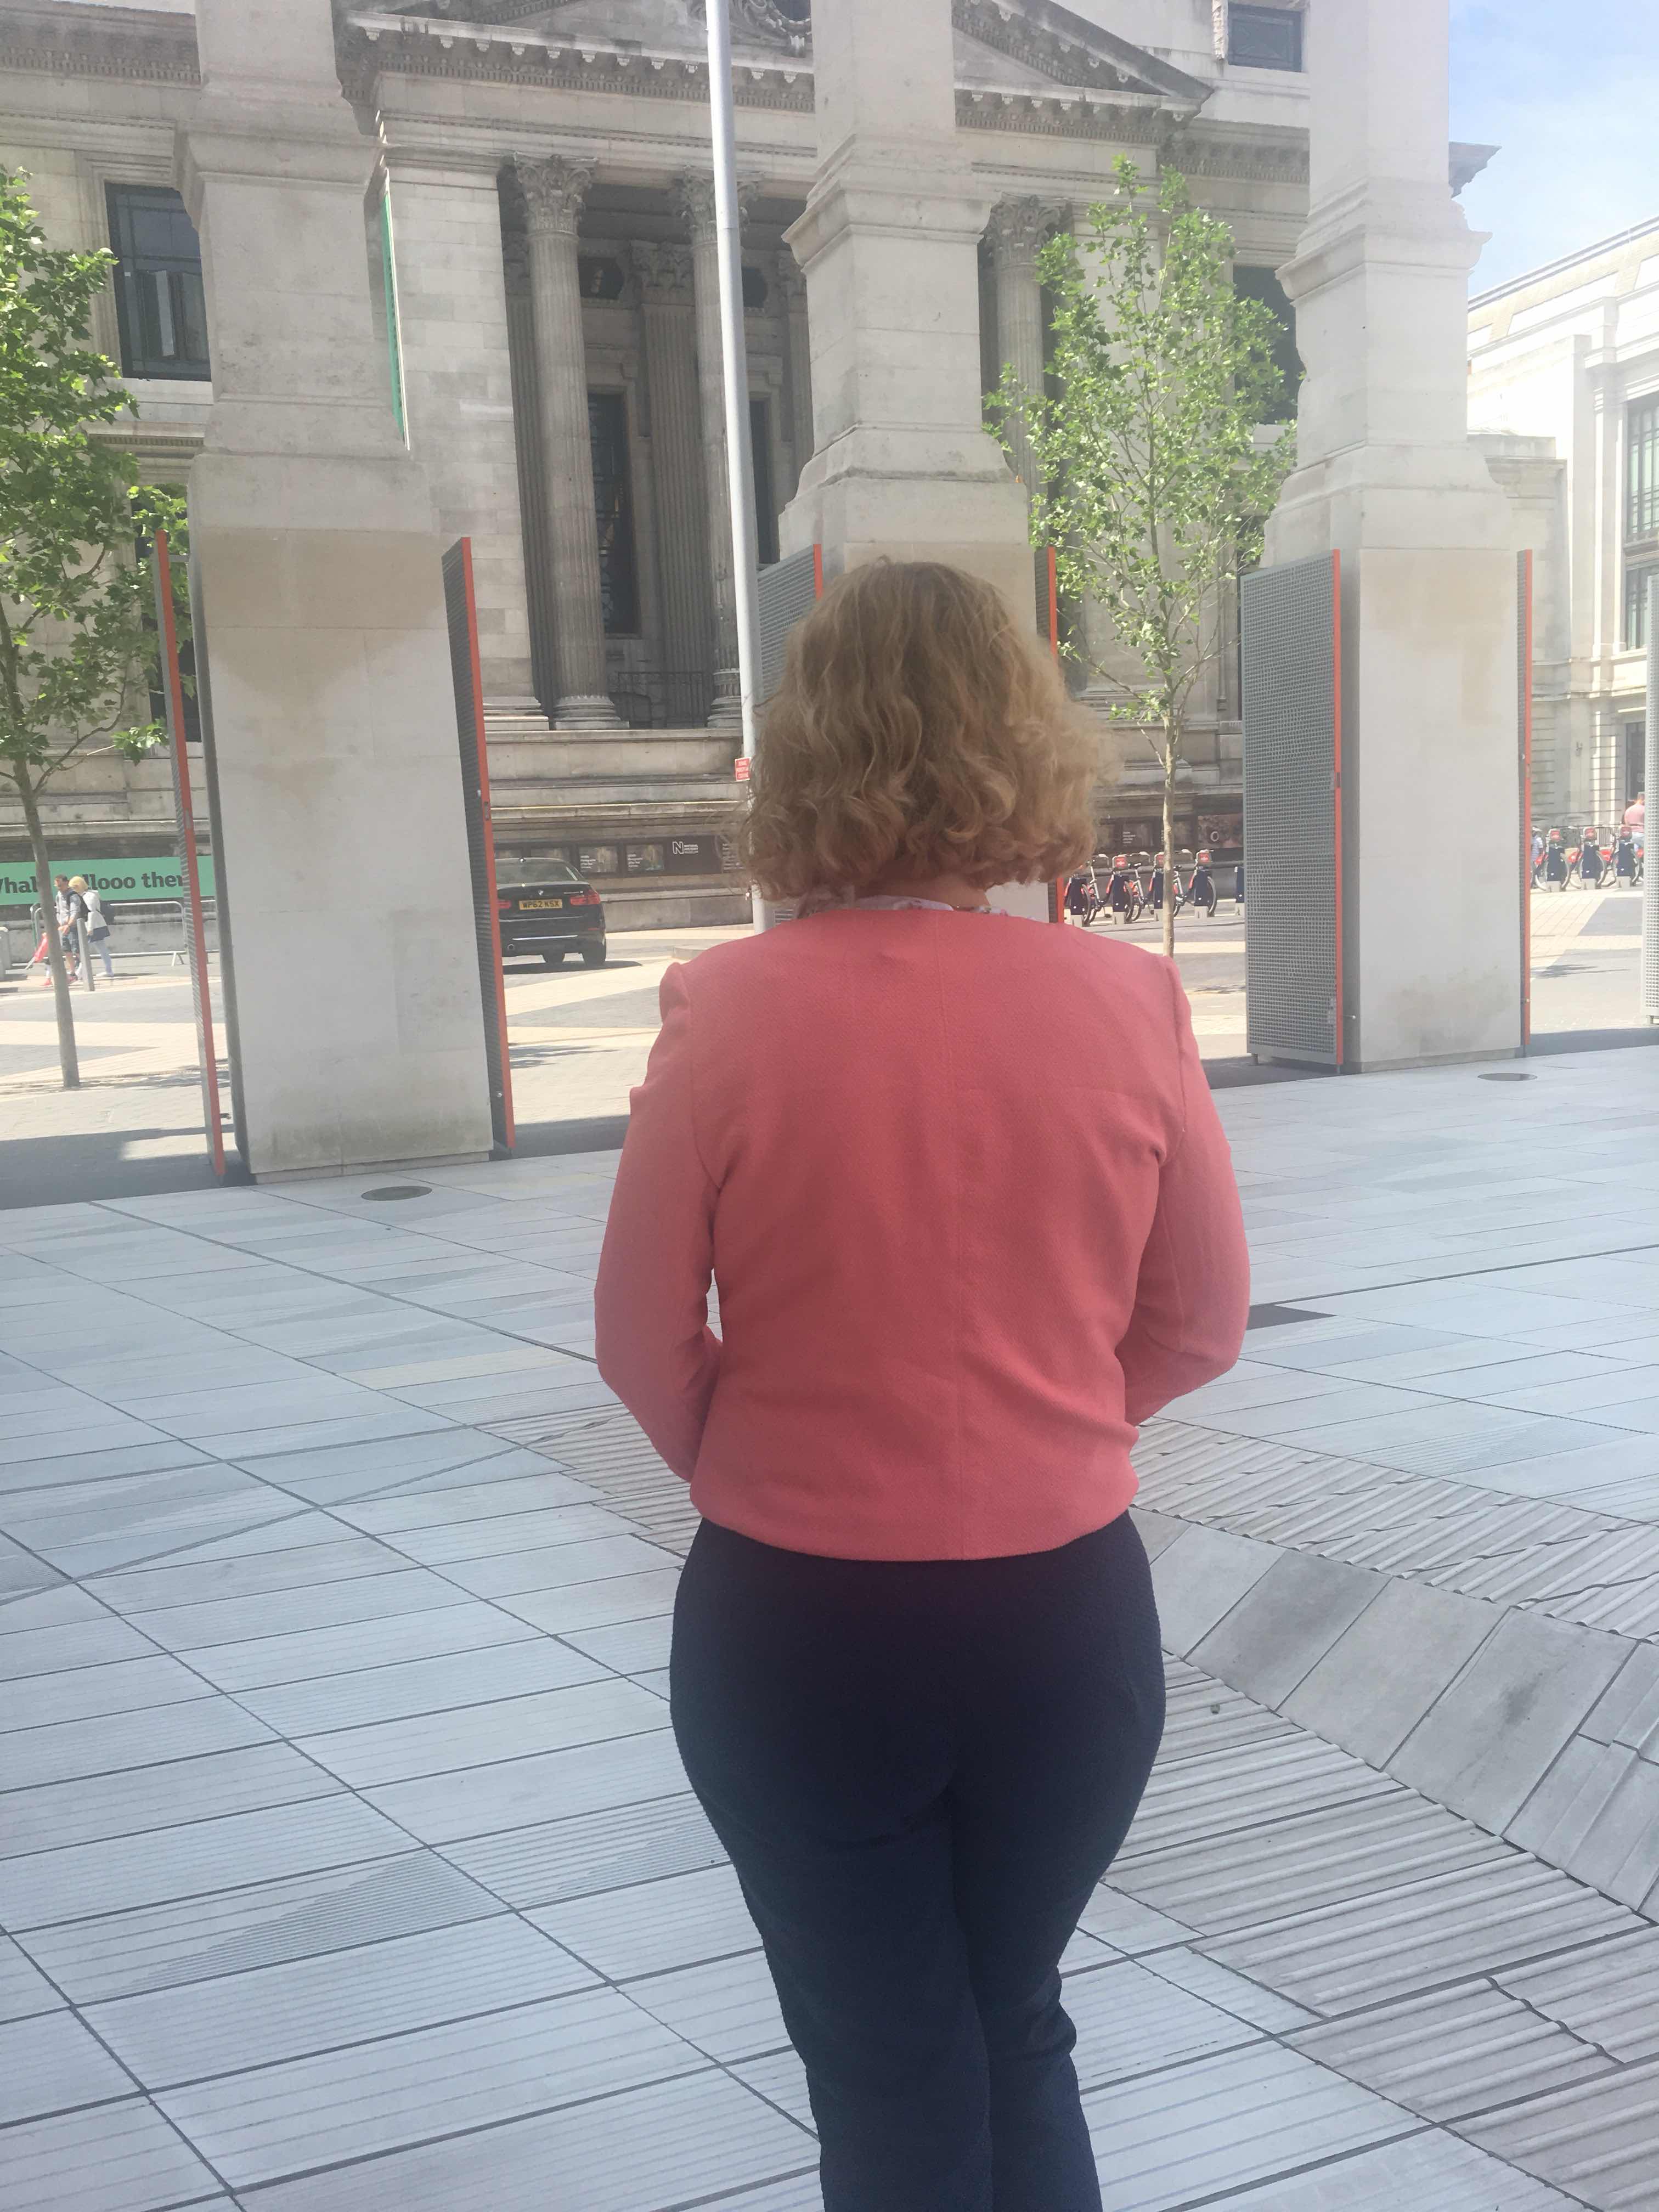
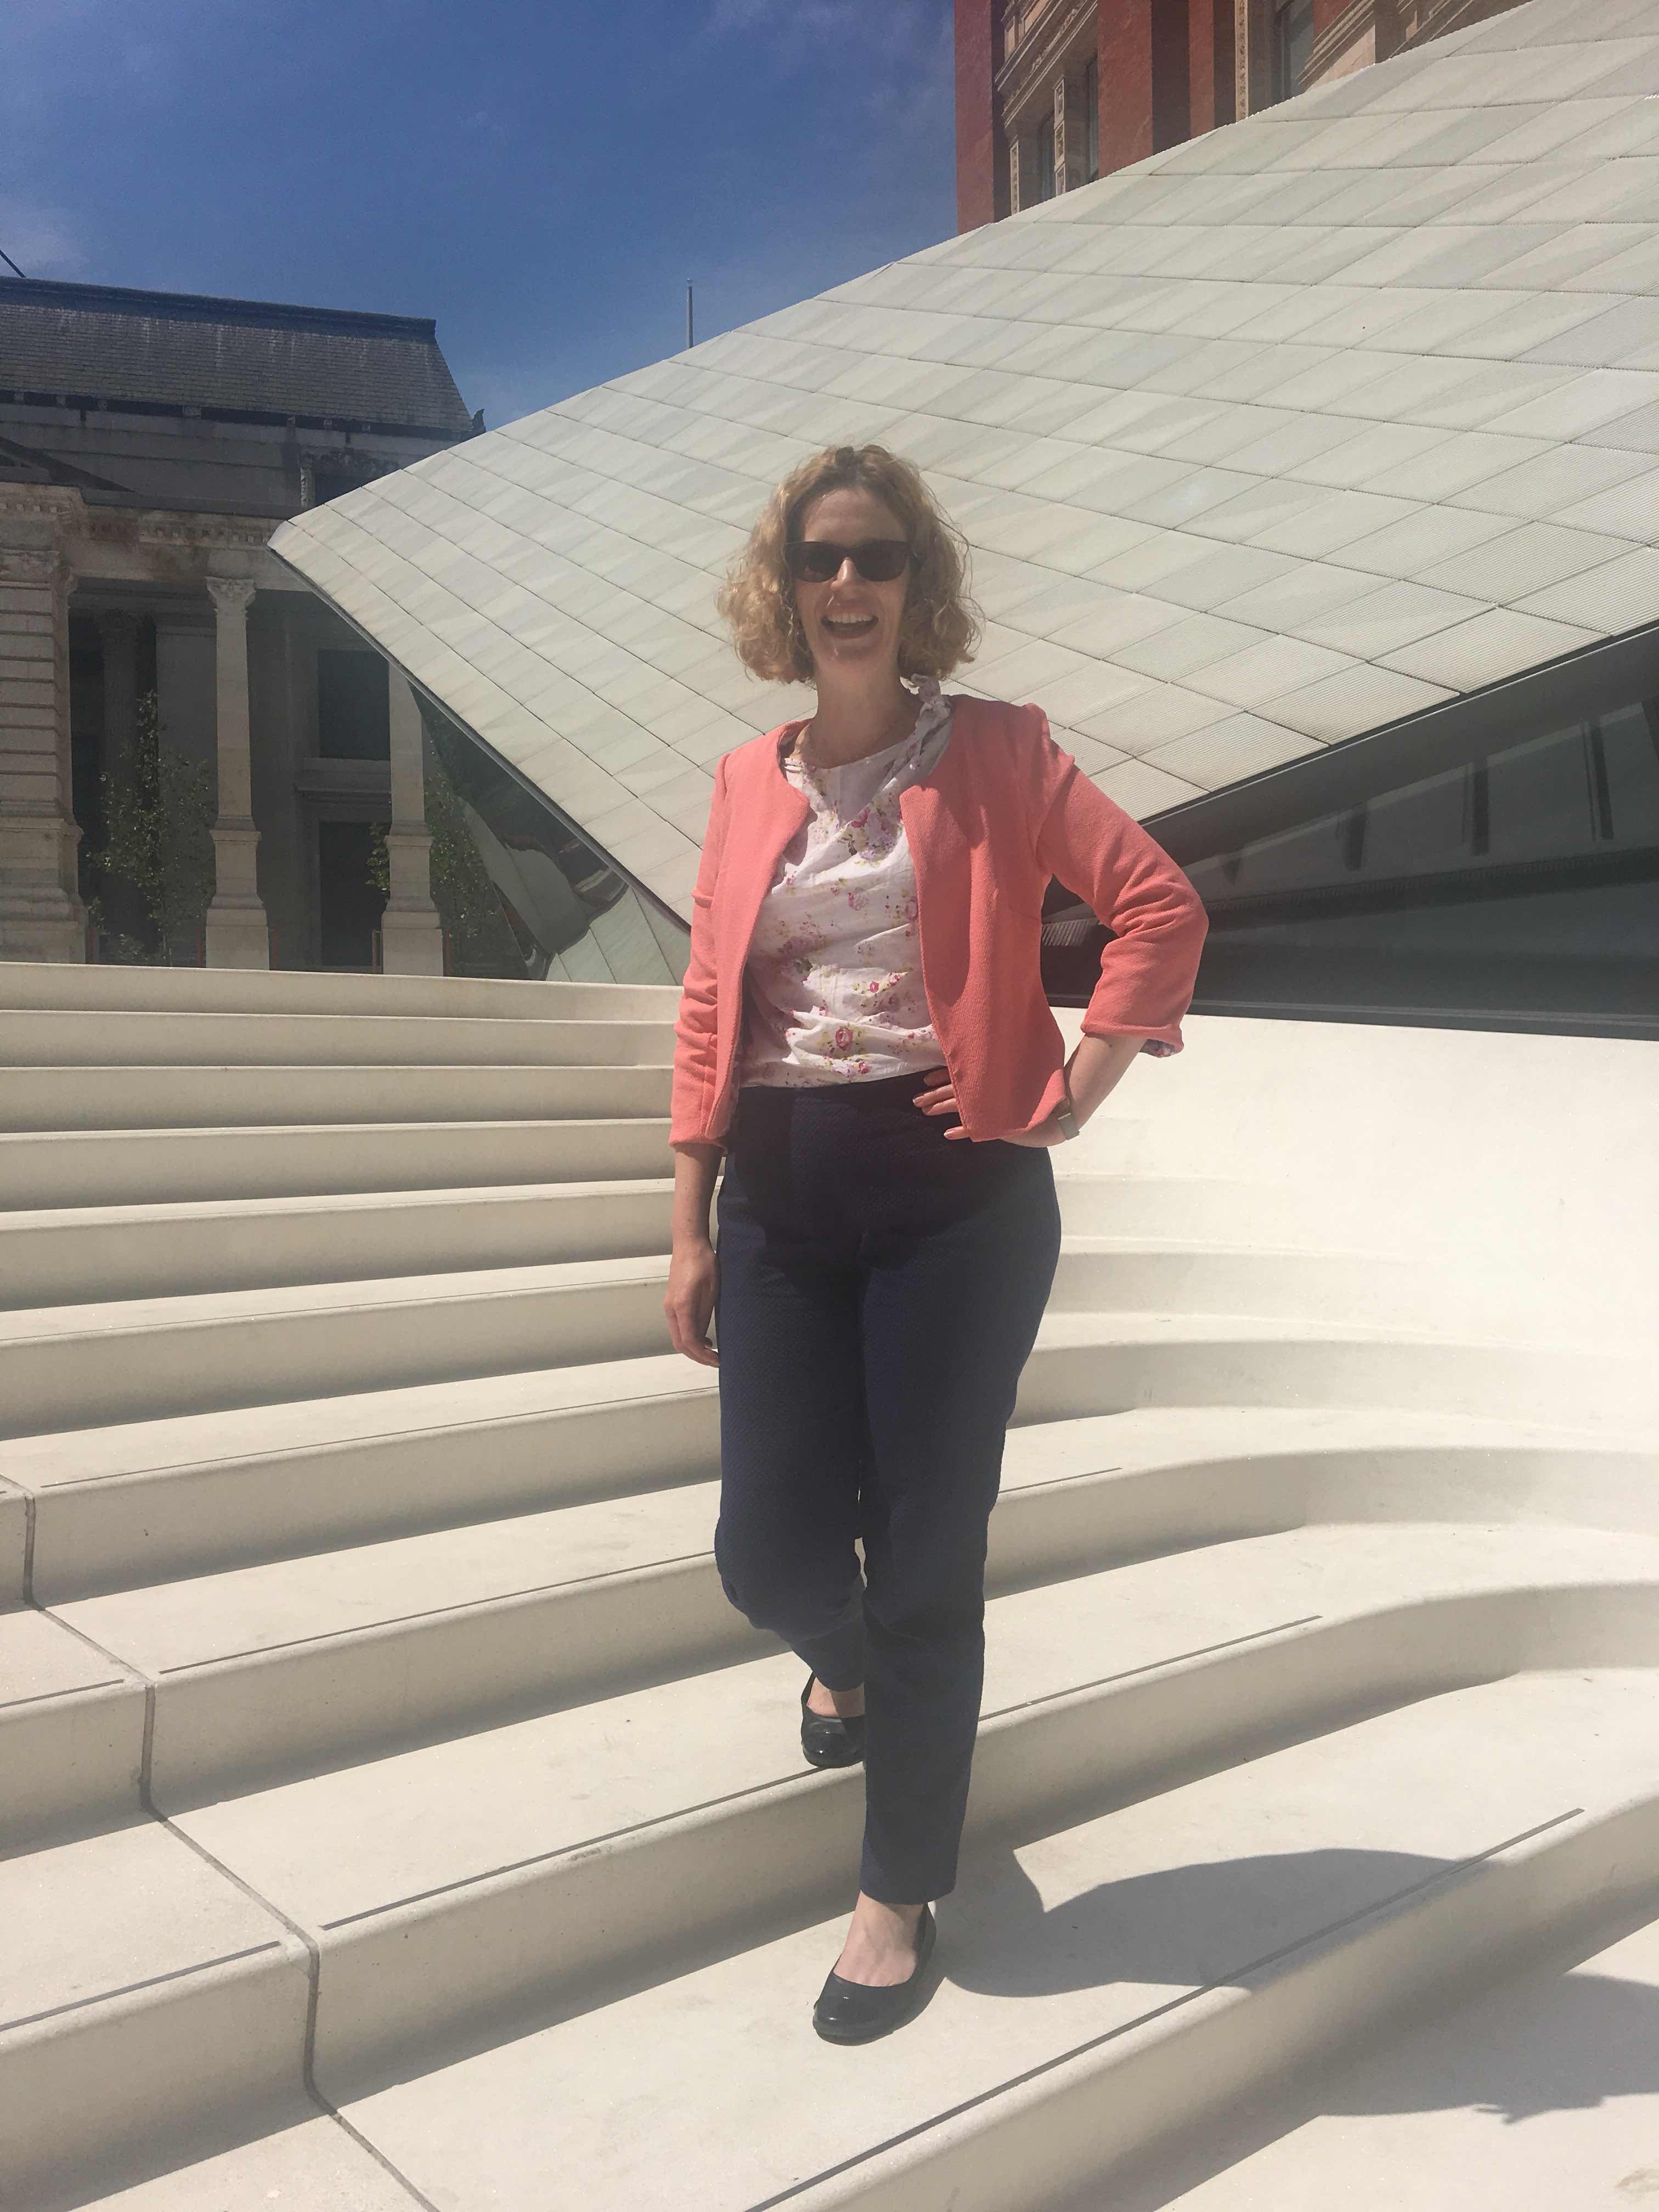
Today I have another double act for you, however this one worked out just as I planned. Another pair of Sew over it ultimate trousers and a Schnittchen patterns Coco jacket. The jacket was a new make for me and it was good to push myself out of my comfort zone. 


I’ve made at least 5 pairs of ultimate trousers and I love them but I don’t have a lot to say at this point about the construction. This pair were made in a textured cotton from Simply fabrics in Brixton. I spotted it on my last visit there and fell in love instantly, I had it made up into these trousers within days. 
 

Before I launch into a critique of my new jacket, I should say that it was always meant to be a wearable muslin and as that I think it’s pretty good. 

  
I’ve had this pattern in my stash for years! I won it as part of a monthly stitch competition at one point and never got round to making it. I’ve always had a cardigans and jackets gap in my wardrobe and really wanted a jacket in this style but it just felt like it was going to be too difficult. 

 
However I recently managed to psych myself up to just do it! I decided to use 2 fabrics from my stash that I wasn’t too precious about as a way to not get too uptight about how to make it perfect. I think I received the pattern before they had English instructions, either way there were no instructions with the pattern so I was reliant the tutorial on the blog.  Most of the construction was fairly straightforward but I struggled with attaching the lining around the back hem and it keeps rolling out of the sleeves (although this may be because of the outer fabric).  


I didn’t make any alterations to the pattern and made it up as instructed.  For the most part, it fits really well but the arms are too tight.  I'd seen other people on the blogosphere commenting on this but decided to give it a go, as drafted, for this wearable muslin.  I really like this jacket but it's unlikely to last me more than a season, the outer fabric is a cheap polyester, that I bought on Walthamstow market and used some of for the lining of this coat and the lining is a viscose from Minerva crafts that I bought on sale and then thought was a bit garish for a dress.

Despite the flaws, I love this outfit it makes me feel really put together.  I have worn the jacket with almost everything since it was finished and definitely need to make another one.  I've already bought some fabric, anyone want to take bets on how long it takes me to get around to actioning this?
 

Monday, 18 June 2018

When things don’t work out the way you planned

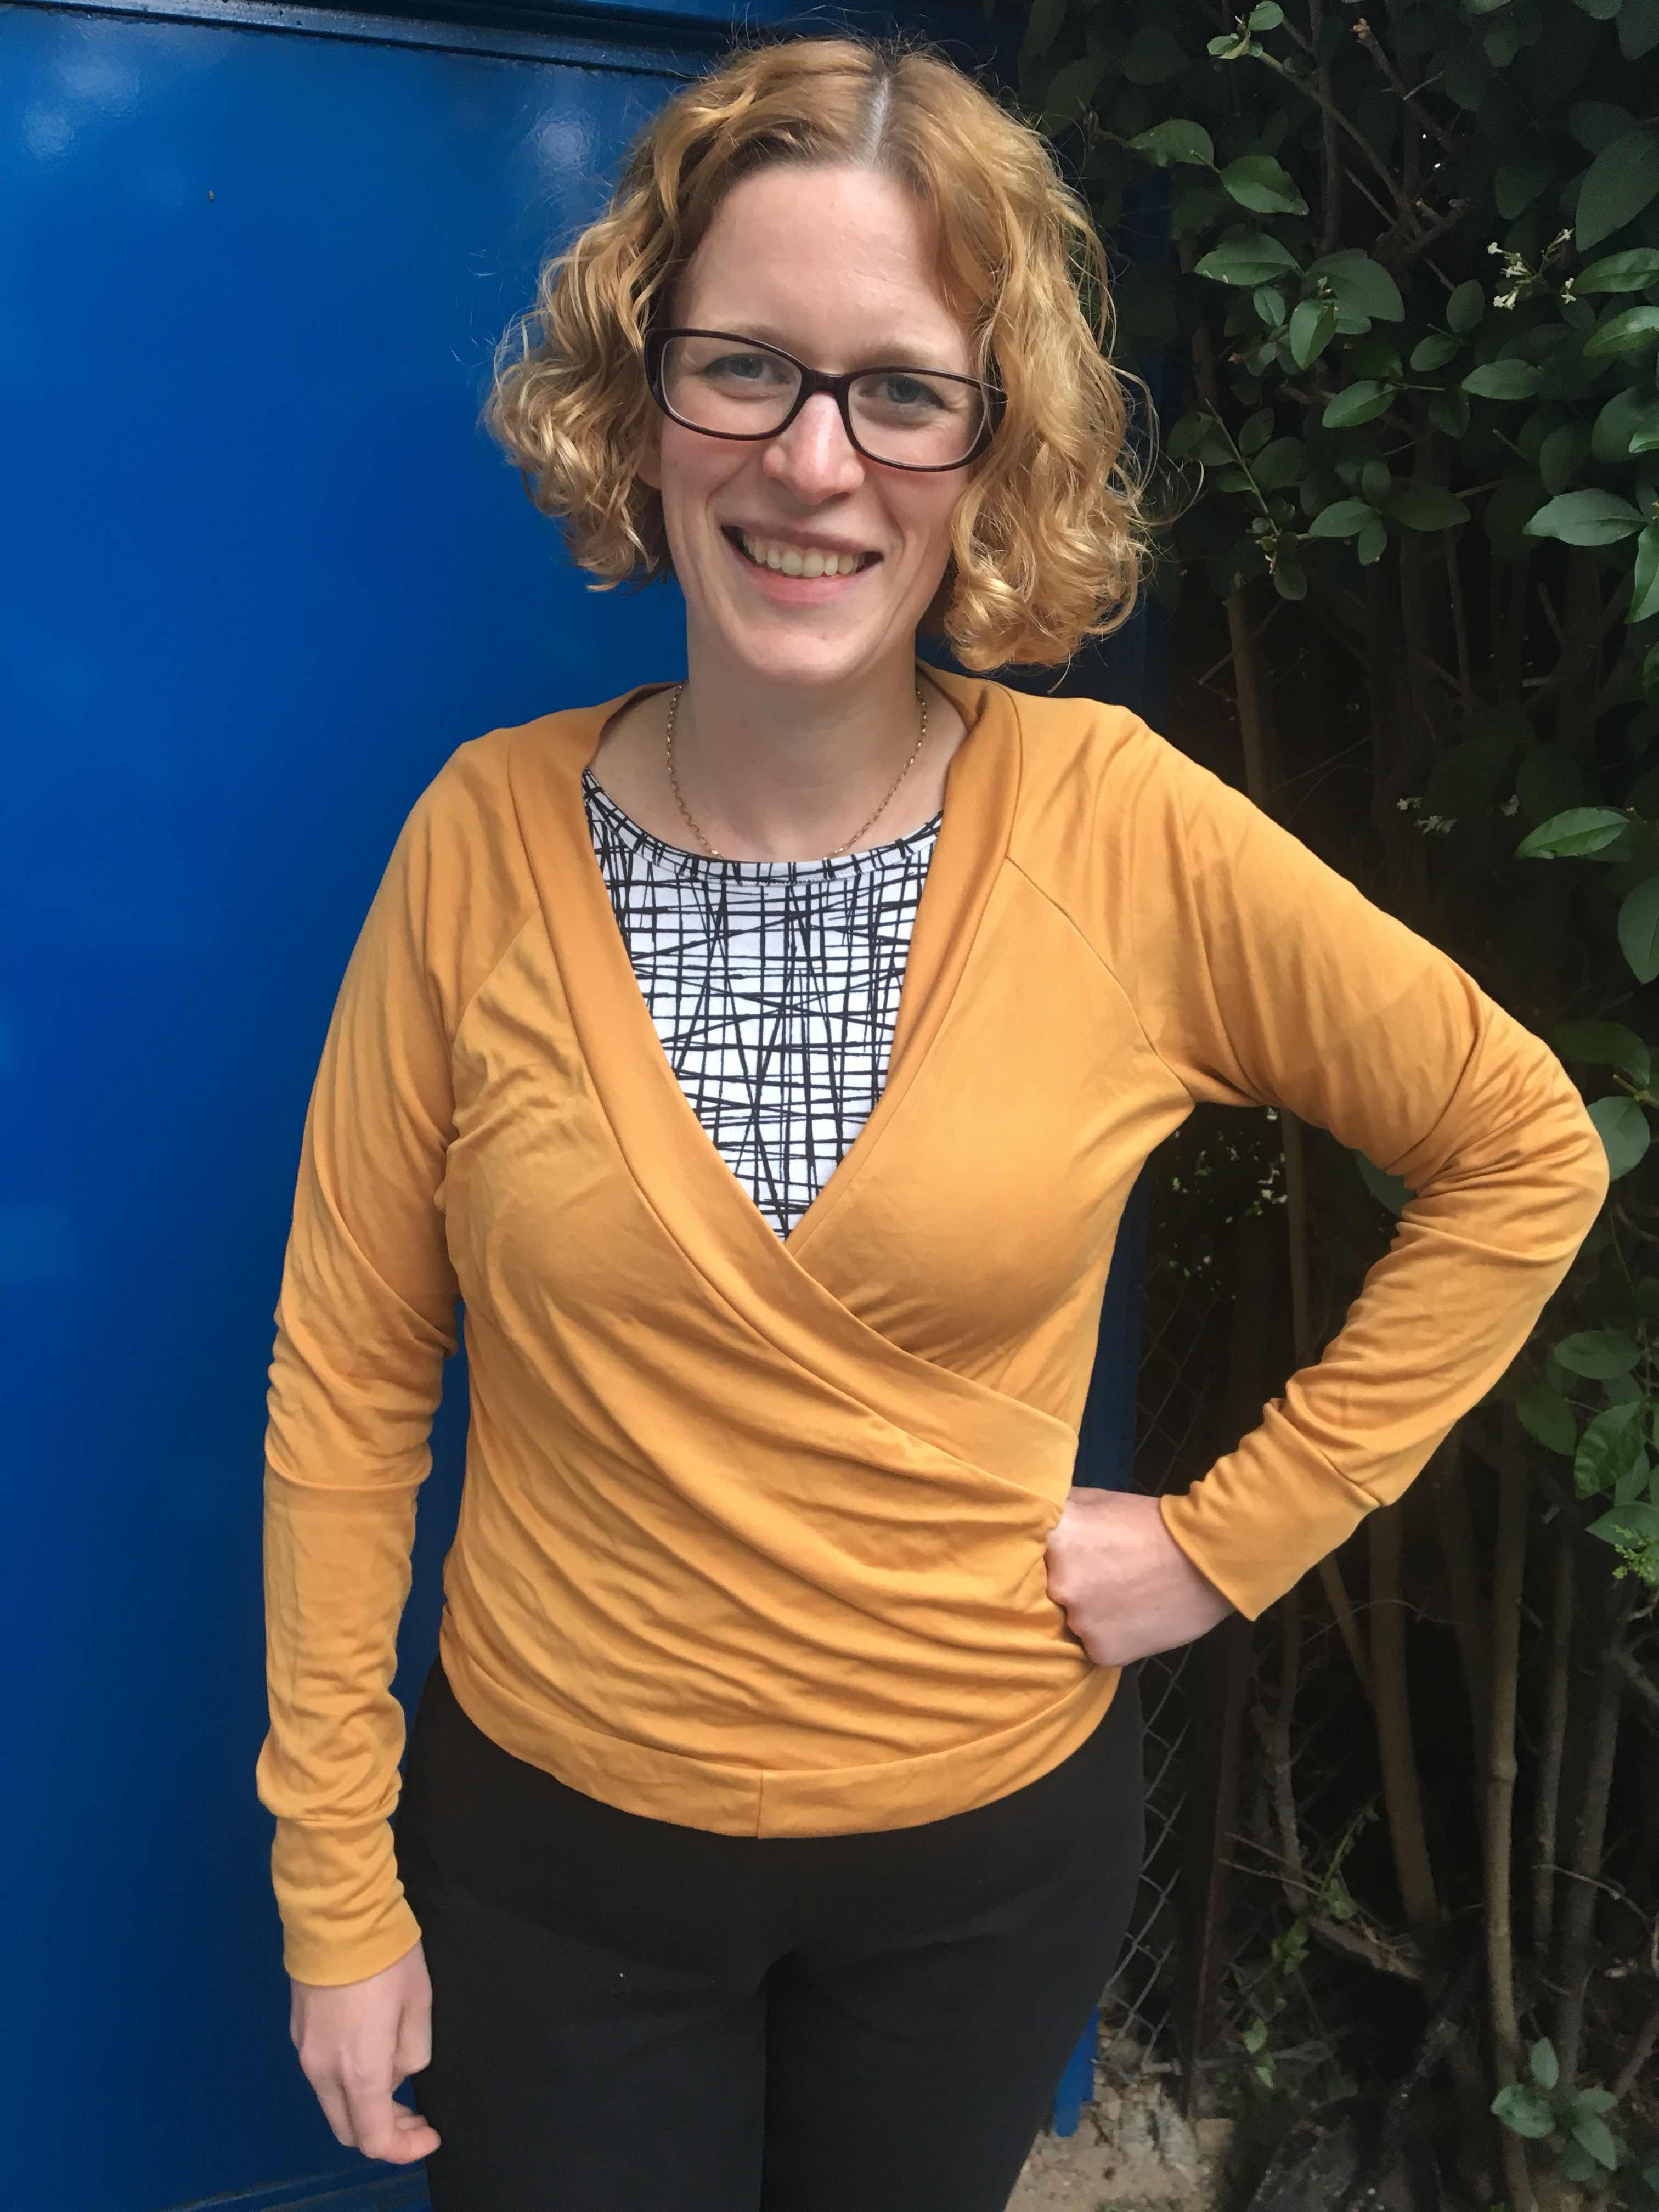
Todays makes were ‘made’ a couple of months ago but somehow took another couple to actually feel properly wearable and be photographed.  However, you're getting a bumper set of makes!  For this Sew crafty design team project I had a really clear vision of a Nettie dress in this gorgeous monochrome jersey with a mustard Coppelia cover up in this jersey. However, the even the best laid plans don’t always go as planned.  


First up is the Nettie dress. This pattern has got to be one of my most used patterns. I reckon this is at least version 10, I’ve made it, I’ve hacked it, it’s great. However, in some fabrics, I really need to go up a size in the hips/lower stomach as I could do with some more wiggle room. I’ve become a lot more self conscious about my stomach recently and sadly when I wore this dress during me Made May I just felt too uncomfortable. I knew I just wasn’t going to wear it after that and so started to think about what to do to rescue the fabric which I loved!  It really wasn’t the biggest leap to cut it shorter into a top.
 

This top works really well tucked into trousers or skirts and I’m glad I was able to rescue the fabric as I just love the print.  It’s also made me realise that the one version of the Nettie that I’ve never made is the body suit! One to go on the list! 
 

The coppelia cardigan has been on my to make list for the longest time. However, when I was making it up I really struggled with instructions. I’ve gotten so used to indie pattern instructions being super clear that I was really disappointed by these ones. At times they really had me scratching my head.  I've had so many people tell me recently that the instructions for papercut patterns are so good that I was starting to feel particularly dim, however, on reading through some more blog posts about this pattern, others seem to have struggled in the same areas. 
 
 
I made the cropped version but lengthened it a little as I have a long torso-turns out that was a mistake! I should have left it alone as it’s now slightly too long. I’m also really bothered by the seam line right in the middle of the ties. It feels like a sloppy design but I don’t know if I put it on incorrectly as I've been stalking other people's versions and they don't seem to have this issue, or if it's a design or instruction fail.  I feel like this join should be at the side and I'm trying to decide if I can bother taking it off and reattaching where I think it should be.  

 
I’m not sure what the fabric content of this jersey is as it’s not stated on the site but it’s really drapey and feels lovely. I’m not sure if it was the greatest choice for this top. It may be a little too drapey, it may have worked better in something with a bit more structure. I'm still undecided about this cardigan, I may make the adjustments and I may even make another to fully decide but at the moment it's not love!
 
 The sew crafty shop has recently started stocking all the rainbow colours of fold over elastic which got me a little bit excited as I could then make knickers out of the jersey scraps I've got knocking around!  I used the Jennifer Lauren Nixie pattern and they were so quick to knock up.  The fact that I have a matching pair for my new Nettie top gives me a geeky thrill! 
 
This was my first foray into underwear and it was a really nice one to get started with, some fancier bits and pieces may hit the blog at some point!  

Thursday, 14 June 2018

Time passes so much faster than you think!


It feels like today’s make should have happened so much earlier than it did. I love my first Sallie jumpsuit and wear it a lot and each time I wear it I think it’s time to make a new one and yet it’s taken me almost 3 years since my first one to make this one. However I’m glad I did. 
Each year I make myself a new birthday dress and I decided to mix it up this year with a birthday jumpsuit. The closet case files Sallie jumpsuit is a pattern that gets less airtime than some of Heather's other patterns which I think is a shame as it's such a lovely pattern.

I used this petrol blue viscose jersey that’s been in my stash for years. I think it came from fabricsforsale. I didn’t quite have enough of the fabric for the jumpsuit so the lining is pieced together from some other jersey scraps. It’s a party on the inside of this jumpsuit!  I've worn this jumpsuit in pretty solid rotation since I made it and the only negative point is that the fabric still leaks colour really badly, I have ruined a few other items by putting them in a washing cycle with it.
 

I made a couple of alterations to this version from the last one. Instead of using elastic to stabilise the neckline and shoulder seams, I just used strips of a woven fabric. The neckline on my first version stretch out a little and doesn’t sit completely flat. While using a woven to stabilise the neckline made it easier to get a flat neckline, there is no give to it while pulling it on which feels a bit wierd when the rest of the jumpsuit is so stretchy. The other alteration I made was to use a slightly wider elastic than recommended as I only had wider elastic in my stash and I wanted to get this done. It’s worked fine. Apart from that, I followed the instructions entirely.  I think I probably need to take it up a bit though as here I'm wearing it with heels and it's still pooling around my feet, the pattern is clearly designed for Amazons!
 

This is the ultimate secret pjs outfit. It looks pretty elegant but is so easy and comfy to wear.  Perfect for summer events! I may have taken this to the limit by essentially having a nap in it in the park!


Monday, 16 April 2018

Transitional sewing


I’m back with my second blog post in as many weeks, I might almost be getting back into the swing of this making and blogging lark.  Today’s make is yet another Sew Over It pattern, my fan girl status hasn’t diminished in my months away from sewing.  This is the Alex shirt from the city breaks e-book, I’ve made this as both a dress and shirt before although the only sightings of them on the blog are in last years me-made-may photos.

The first time I made this, as a shirt, I made a size 14 and it swamped me and eventually I donated it to charity as I never felt comfortable wearing it.  The dress that I made in a size 12 gets worn a fair amount though. So having got the sizing nailed, I decided to make this version in a gorgeous cotton voile I bought from Sea Salt Cornwall.  I didn’t even know they did fabric until Marie from a stitching odyssey posted on Instagram about her purchases during their last big sale.   Thanks Marie, my stash is 15m up thanks to that piece of knowledge!


The fabric felt beautiful to work with and the pattern came together more easily than the previous viscose versions that I had made.  This feels like a real seasonal transition piece, both because of the item but also the fabric, the coloured leaves are quite autumnal but the colours are so bright it’s like spring (which is going to show up in these parts some time soon right?)  I started this shirt shortly after receiving the fabric back in January/February and got about two thirds of completed and then reached the button stage and realized that I had no idea which box my buttons were living in (I think the house will be in moving chaos forever).  However, luckily by the time I had unearthed my buttons and finished the shirt, it’s still seasonally appropriate which is not what usually happens with my UFOs!

 I’m spending a lot of time considering my style and wardrobe at the moment and I’m happy to say that this shirt and outfit feels like a ‘me’ look!  The only thing I’m pondering is if I maybe need to slim down the sleeves a little as they feel quite baggy at the top-maybe an alteration to put on the list for my Me-Made-May challenge (more on this coming soon). 


Friday, 29 September 2017

And it's a wrap!

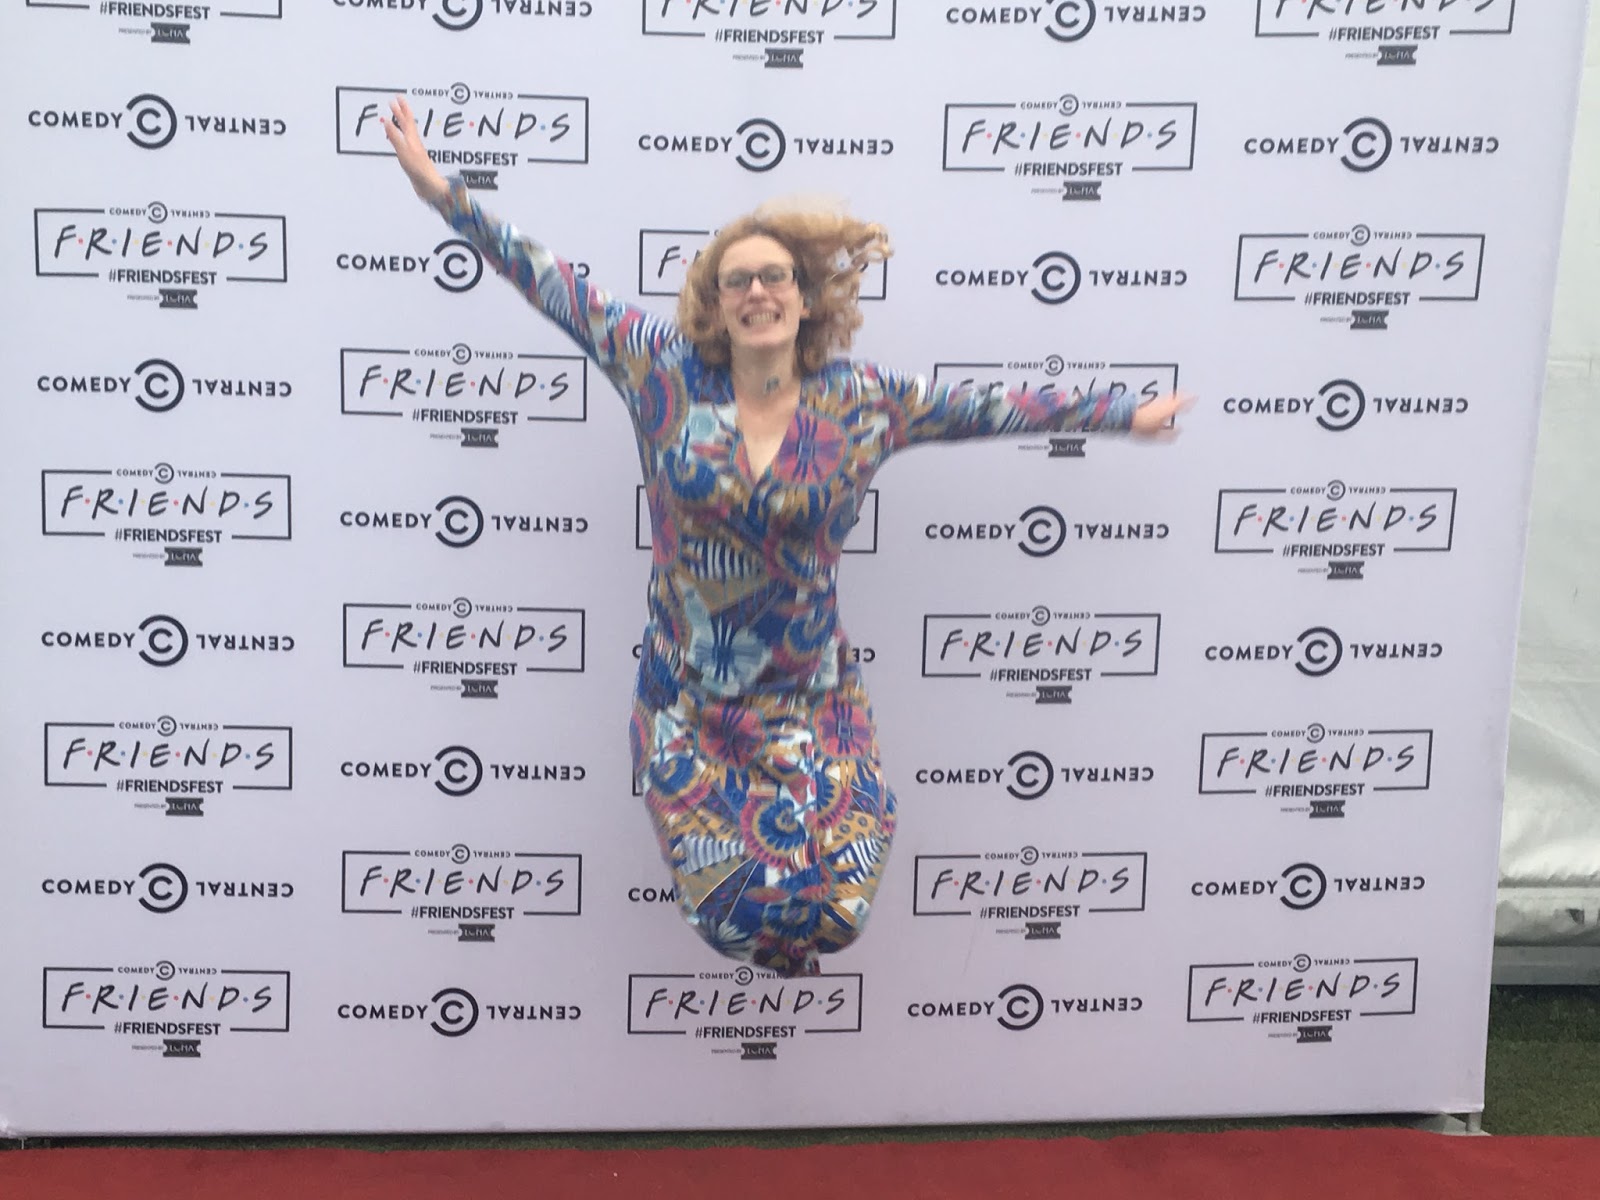
And with that incredibly unoriginal title, today I have a Sew Over It ultimate wrap dress to show you.  I was given this pattern, along with the vintage shirt dress for Christmas 2015 and I really don't know why it took me so long to get round to making it!
This is actually my second version of this dress. I made my first version back in May. Any of you who follow me on Instagram may have spotted it in my me-made-may photos. However I just didn't love this version, the neckline was too wide, leaving my bra straps on show and making it seriously boob-y. I also felt the fabric made me look a bit like Minnie Mouse! In my recent moving house clear out, it got donated to the charity shop. I always kind of hope that I'll spot someone in my local area wearing one of my me-mades that I've donated. Anyone had this experience? 

On my previous version I'd lengthened the bodice but on this one I brought the neckline in by about an inch and a half on each side and then gradually tapered it down to the waist. I also obviously added a lot of length as I've been dreaming of creating a wrap maxi dress all summer. 


I used a light weight cotton jersey from Girl Charlee. Although it's quite thin, it didn't do that irritating curling at the edges thing that some thin jerseys do. I also love this print. Construction was pretty straightforward. I used my overlocker for a lot of it and the rest on my sewing machine. This is one of the first garments I've made since getting my new walking foot for my sewing machine and it's made such a difference. I'm really pleased with how all the stitching has turned out. 


I've got the boob coverage sorted but I think if I was going to make another maxi version, I'd probably widen the skirt pieces at the bottom as I flash my legs all the time.  Flashing my calves to the world is not exactly a problem but I think it would sit a bit better with slightly wider skirt panels. Ideally I would have made it a little longer too, however, I did not have enough fabric to make any of these changes on this version , there were only minuscule pieces left once I had cut it out.  Anyway, while it's far from perfect but I'm really pleased with it. 

I wore it on a super geeky trip to Friends-Fest recently and it turns out its perfect for jumping in and there were no flashing issues-perfect!

Monday, 31 July 2017

Another shirt dress. Testing the Mayberry.

In my seriously sporadic blog posting I'm back, to bring you another shirtdress!  Shirtdresses have been EVERYWHERE in the sewing world this summer. I guess it's partly been fuelled by #Sewtogetherforsummer but anyway it's a craze I am happy to jump on bandwagon with. So when Jen of Jennifer Lauren handmade put out a call for testers for a shirtdress, I speedily signed up!


The pattern calls for a floaty fabric, however I had this awesome, not so floaty stretch cotton, which came from fabric godmother which I wanted to use so I went with that. I reckon that if, like me, you've got a cotton in your stash that you think this dress would look awesome in, I'd say go for it.  It actually helps the feature, off-centred front to stand out I think.  However, the bodice will stand out slightly from your body, I guess that's your own judgement call. 


This was my first experience of testing for Jen and I was really impressed by the standard of the pattern and instructions at this stage. I think most people had a similar experience with the tester version so there haven't been many changes made from the tester version.  This is one of Jen's first patterns with multiple cup sizes and I found this to work really well.  I cut a size 12 and C cup for the bodice and graded between a 12 and 14 for the skirt.  For this version I also added 4cm to the bodice, this is fairly standard for me as I have a long torso but I didn't take any length out of the skirt to compensate and the dress falls to above my knees.  I'm 172cm/5'7" so this is just something to be aware of if you're fairly tall.  A change I didn't make on this version was to lengthen the bust darts, personally I find them a little short, its really not a big deal, I only realised they were bugging me after I'd been wearing the dress for a while but I think I'd lengthen them on a future version.

The off centre neck/overlap is such a nice feature and was really easy to achieve. The buttons I used are some which I'd recycled from a moth-eaten, vintage cardigan that I'd gotten rid of a while ago. I think they work really well with the fabric, and somehow can get lost and look a bit fancy at the same time. I used a navy ribbon for the waist fastening.  I should probably mention that the dress has pockets which I totally failed to get a picture of but they're definitely there.  To be honest, I know everyone raves about pockets in dresses but I really am not a massive fan.  On the rare occasion when I remember I have them and actually put something in them, the dress gets all lumpy and lopsided.  I might rebel next time and not include them!

I really like this dress, I think it's super practical and fun too.  While I took these photos ages ago, I've been wearing this exact outfit all day (except with a cardigan over it as the UK hasn't decided to fix on a season at the moment!)  I definitely think I'll make another slightly more wintery version with longer sleeves.  I love Jen's versions in solid fabrics, which allow the off-centre front to stand out.  So, you never know, I may break the habit of a lifetime and opt for a plain fabric for next version!

Monday, 3 April 2017

Jazzy embroidery

I bought this top in a charity shop on a trip to Bristol a last year. It fitted well, had a decent proportion of wool and cashmere in it (important for perpetually freezing people like me) and was only about £3.
However, when I got it home I found it just a bit boring so I decided to update the look a little.  Lots of people who's skills I really admire like Elisalex and Sally having been posting great makes that they have embroidered (although weirdly when I went to look for photos of their makes, I couldn't find any, so actually maybe it's just my imagination conjuring them up) so I thought I would give it a go too. Ta da...


I went about this in my usual gung-ho manner and basically launched in!  I decided that I wanted a peacock design so went online and printed off some line drawings and basically just pinned them onto the top and started stitching through the top and paper.
I forgot to take a picture of the main design pinned to the front but this is essentially what I did with the main design too.

There are loads of embroidered garments around at the moment and ok, they will have been machine embroidered but there is no way these things should be being sold at the prices that they are, EMBROIDERY TAKES FOREVER!!!!  I had been stitching for weeks, with more time off than on, but still, a long time and this was the point at which I found myself:
Luckily I thought that the design was starting to look awesome, otherwise this would have been a seriously upsetting point; lots still to embroider or a lot of unpicking to do!
To achieve the gorgeous peacock effect, I  just used a selection of all the blues and greens and I knew that I wanted to include some gold thread to give the peacock a bit of that vibrant sparkle which makes them so attractive.  I'm really pleased with the effect but man, that gold thread was a serious pain to work with!  It shredded and split so easily, even when I kept the lengths that I was working with quite short.


Anyway I hope you're all enjoying your bank holidays (if you're in a part of the world where you're lucky enough to have the day off) and have a great week to all.

Monday, 30 January 2017

Planning from the deep stash

I'm a member of the sewalongs and sewing contest group on facebook, and this quarter's theme is deep stash patterns.  As my pattern stash is getting out of control, this was an awesome theme for me.  My plan currently looks like this:


From left to right; Mia jeans, Ondee sweater, Various vintage patterns, I have plans for view 2 and 3 of Simplicity 5359, Vintage shirt dress, Anderson blouse, Brume skirt.  Most of these I've never made before and I'm looking forward to trying them out.  When I first started sewing, I didn't understand how other sewists had so many patterns that they'd never used in their stash.  Turns out the longer you sew and the more invested that you become in this hobby, the easier it is to just accumulate things!

However, since I have minimal follow through on my planned lists, I'm not convinced that my final makes will look anything like this.  The coppelia cardigan, opal shirt and multiple other patterns are also on my 'to make list' and may be subbed in.  In fact, this top pattern is currently obsessing me and I bought the perfect fabrics on a recent trip to Paris so my 'plan' really is incredibly fluid!


However, I can guarantee that the Vintage shirt dress will definitely be entered as it is finished already!  I bought a length of African wax print in December, with the main purpose of making my sister some ultimate pjs (and other bits and pieces).  However, since the fabric was awesome and I had quite a lot of the 5.5m length left, I made myself a vintage shirt dress.


This pattern was a Christmas gift last year and so far this is my third version.  It's swiftly becoming one of my favourite patterns and I love this version! As my second version was also in an African wax fabric, clearly I feel like the African wax prints and this pattern are a perfect match (watch this space for more, although since I don't currently have any in my stash so this would involve a shopping trip).  The African wax cotton is a bit similar to quilting cotton, although it's a bit drapier and is really easy to work with.  When I first started sewing, I would predominantly have bought this kind of fabric and slowly moved away from them.  Partly due to wanting to sew a greater range of garments and use different techniques.  However, I'm starting to feel a real lack of this kind of fabric in my stash and actually investing in some more.  Maybe it is time for that shopping trip.  However, just a word of warning, one of the big issues with a shopping trip for African wax print is that it is sold in 5.5m lengths and while it is not always essential to buy that much, your incoming totals can mount up quickly.

I did not have 8 suitable buttons in my stash so it did involve a trip to the haberdashery (which is always fraught with peril as there is just so much temptation to try to resist).  However, I was good and just bought these buttons which have a subtle circle design on them, to echo but not clash with the print on the fabric.
This dress makes me really happy, it's smart enough to wear for work but also bright and patterned enough to give a little boost to my day.   I hope you all have colour or sewing or something to make you happy for the rest of the week.

Monday, 19 December 2016

Embracing the colour

Months ago I ordered this stretch cotton from SewCrafty with the express purpose of making a pair of Sew Over It, Ultimate trousers.  However, when the fabric arrived I got it into my head that I hadn't ordered enough (no idea why, as it was the perfect amount) so the fabric got relegated to my stash.

However, recently I pulled it out again and came to my senses!  I sewed it up really quickly into another pair of Ultimate trousers.  I don't really have a lot to say about this as I've made a number of other versions before here and here.  I love that I now have a pair of well fitting trousers that as an added bonus, come together really quickly.  

I really needed some more trousers for my wardrobe and while these are fun and fill a gap, the next pair should maybe be in neutral colour!  Although I think the next pair of trousers I make may be a pair of Mia jeans.  I've had loads of compliments on these when I've worn them though which is always a bit of a boost to my confidence.


 Most of these photos were taken by my flatmate in our extremely messy garden (thanks Grace) and she managed to catch one of me picking the only apple my little apple tree produced this year.

I hope you're all enjoying preparing for Christmas and I look forward to seeing the wonderful outfits that pop up on your blogs.  I'm off to finish some last minute Christmas presents.